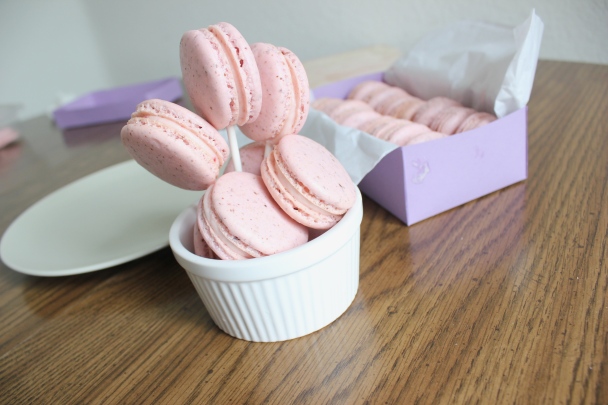
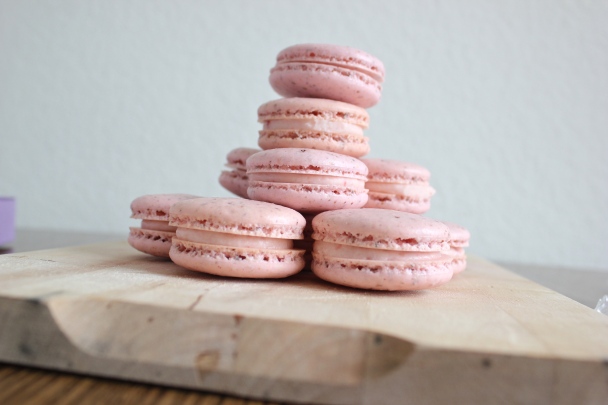
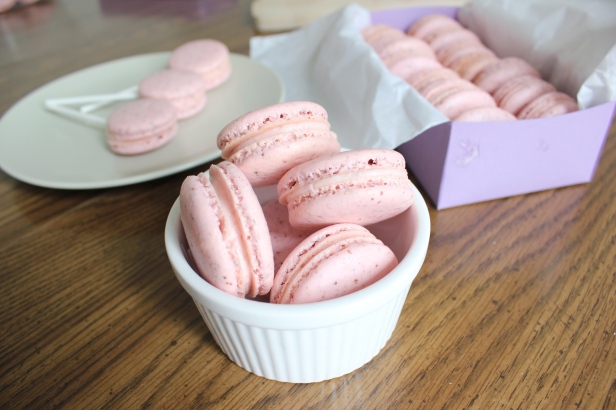
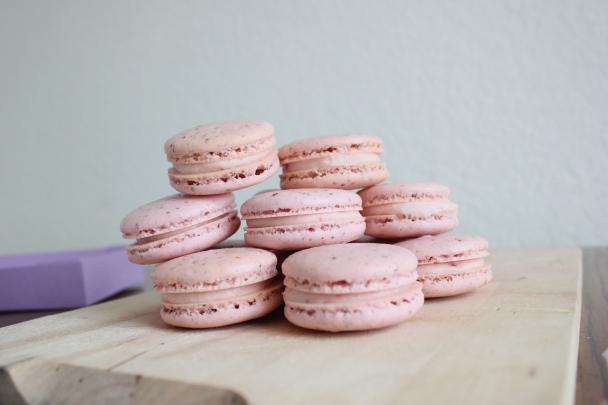
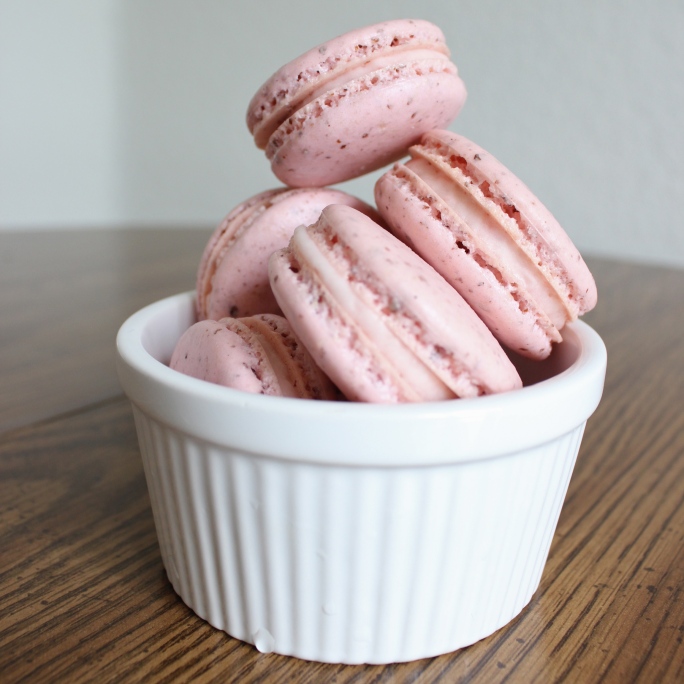
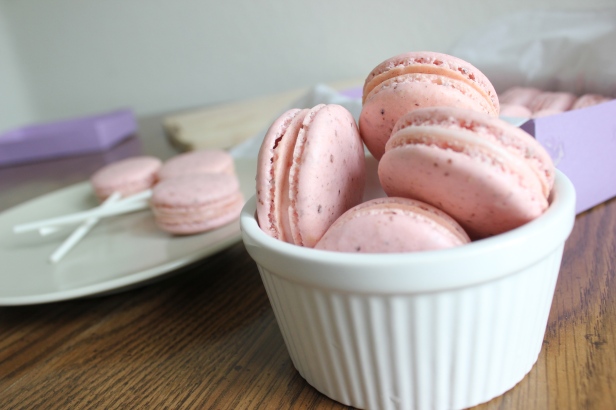
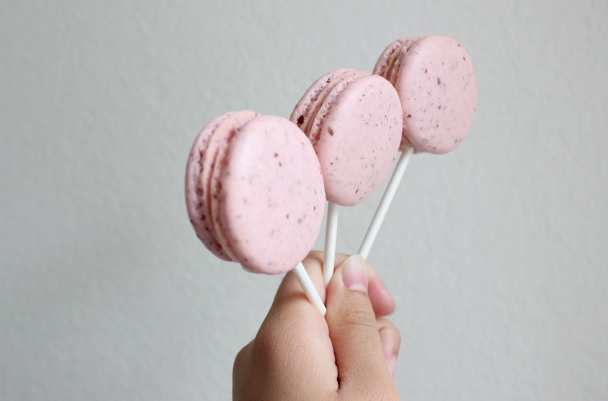
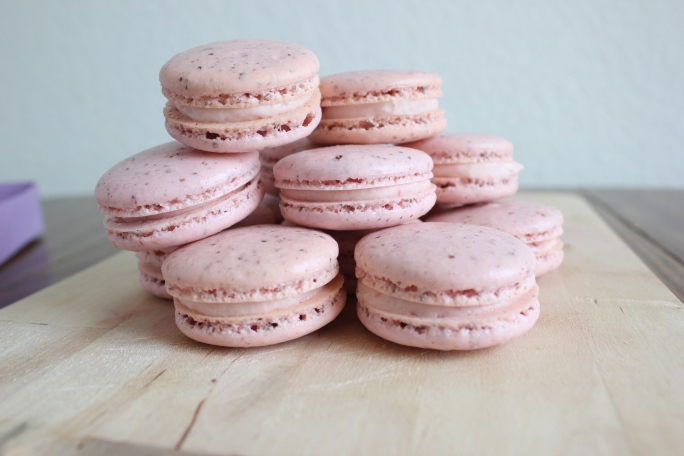
MACARONS MACARONS MACARONS MACARONS!! Not macaroons. Macarons. One “o,” please! I know I said I’d do a macaron tutorial post, but I’m not ready for that yet. I have pictures from two instances, but I’m not completely satisfied with them. I keep looking at all these other macaron tutorial posts, and I don’t think mine are up to par yet. Perhaps in the near future! So for now, I’ll direct you to some of my favorite macaron posts where I learned it all, and I’ll show one of my favorite flavors: strawberry macarons with strawberry buttercream. This is one of my more popular flavors, because the strawberry flavor in the filling is so strong! It’s soooo good. There’s one extra hassle from making macarons–you get all these egg yolks sitting around. I mean, there are plenty of recipes out there that use up leftover yolks, but sometimes I’m just kinda meh about them. Luckily I have a friend who makes amazing ice cream that I give all my yolks to (shoutout to Nick! Thanks for taking all my leftover egg yolks!).
The recipe I use is from this blog called Not So Humble Pie. She has this pretty great macaron tutorial that you can find here where she goes into detail about the entire macaron process–ingredients, equipment, mixing, baking, and fillings. The recipe I use is from her. And then there’s also BraveTart, a blog which has an intensive post as well, and I’ve definitely learned a lot from it. You can find her recipe here, along with a couple other macaron reads that she links to in the post. Both are really informative, and I think a lot of what I’ve learned is credited to these two blogs. Check them out, please!
A couple of side notes (just things off the top of my head):
1) Macarons take a lot of precision, practice, and patience. Precision because baking is a science, and practice because as you keep making them, you begin to learn techniques. It’s not as hard as everyone makes it out to be, but you have to be really willing to put in the time and effort. It’s definitely not something you can whip out in an hour–you must be patient.
2) Measure all your ingredients and sift all the dry ingredients! As for aging the egg whites, I usually do it the night before. If you don’t have time, don’t worry–just make sure they’re at room temperature. I like separating them in separate bowls and pouring the egg whites to my mixing bowl. I do this so in case I get a speck of yolk in my egg whites, I don’t have to throw out everything, just that one tainted white. Remember it’s important that there are no specks of oil/yolks in your whites, otherwise they won’t whip up properly.
3) For piping, if you don’t have a pastry bag you can use a ziploc bag or a plastic pastry bag. I buy plastic pastry bags at Daiso Japan if you have one in your area; if not, you can find them online. If you are using a large ziploc bag, I would recommend cutting the hole on a curve (not straight, a sort of curved line) just so the batter doesn’t get piped out flat. As for piping circles, it’s hard. Some recipes tell you to draw circles one by one onto the back side of the parchment paper with a pencil, but…aintnobodygottimefordat. I print out two macaron templates (which you can just google image search), tape them together, then slip them under my Silpat/parchment paper. Then I pull them out after I’m done piping, and voila! Time saver and you can reuse the templates.
4) After you finish piping, don’t forget to rap the sheets against the counter. This helps create a solid “base” or “foot” for the macaron shells. It also helps flatten out some of ugly shells into prettier shapes. Just slam the pans against the counter once or twice, then rotate 90 degrees and rap again until you rap all the sides.
5) Know your oven! Your oven can be a liar. Seriously! It might say 350 when in reality it’s 325. You can buy oven thermometers if you want to be sure; I just played around with my oven until I found a temperature that worked. I only bake one tray at a time; you might not have to. It’s up to you and your oven.
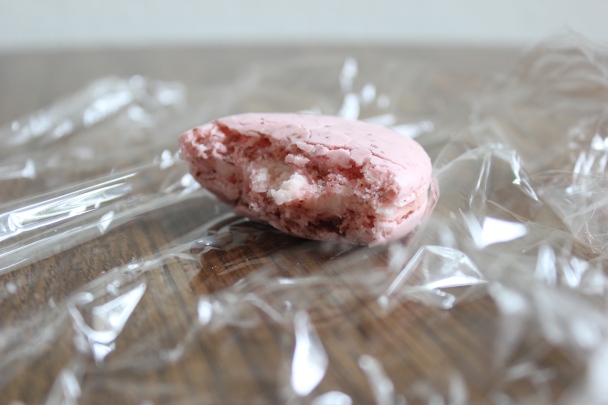
6) I know it’s tempting, but let your macarons sit for a little to let the flavors meld together. I usually let them sit overnight, but some people let them sit for at least 24 hours. Up to you! But they still taste great. Be sure you store your macarons in the fridge or a cool area, or the filling might melt and get messy.
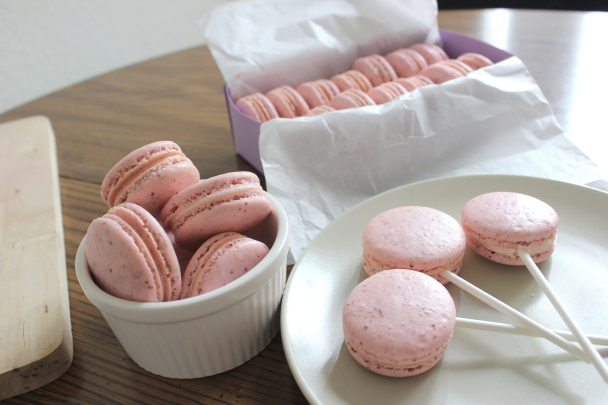
7) Process–don’t deflate the egg whites. Fold gently, and make sure you fold it thoroughly. That was a mistake I made–undermixing. This led to hollow (but yummy!) macaron shells that didn’t look as pretty as I would have liked them to. If you pick up your spatula, the batter that flows off should incorporate into the batter in 20 seconds. Don’t overmix though!
8) I think this is the most important–HAVE FUN! If they don’t come out right, it’s okay–try again! At the end of the day, they’re just macarons. They’re not a big deal. Have fun and find joy in it. Don’t get discouraged! Here are some from one of my first few batches of macarons: 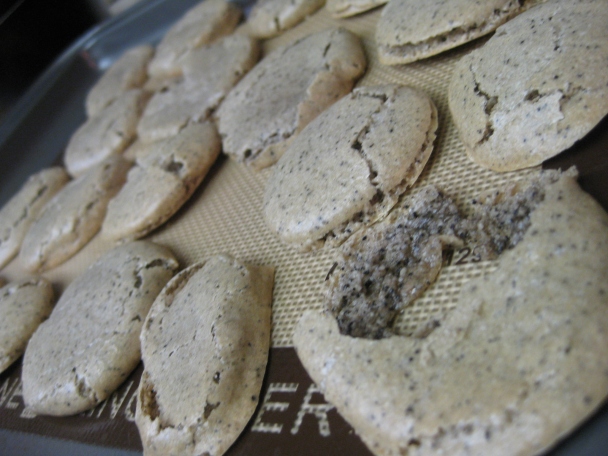 I don’t even know what happened. They tasted good, but they looked hideous. I guess what I’m trying to say is that macarons aren’t a big deal. They’re a fad. They’re hard, but remember to have fun while doing it. Don’t lose your passion for baking because of these puny cookies. Whether or not you are successful with these doesn’t determine whether or not you’re a baker. HAVE FUN. I still have a lot to learn. I still have fillings to work on and try, shells to tweak, and a lot of precision to master. I still get a few bad batches here and there, but I think the main point is that I enjoy it. I love baking, and it’s definitely a passion. But like I said, macarons take a lot of precision, practice, and patience. You have to be willing to put in the effort! And enjoy it. I find it fun, and I hope you do too. Don’t get discouraged–they’re just macarons! Try and try again. And on the bright side, even though they don’t look perfect, they still taste good =). Good luck!!
Strawberry French Macarons
Makes about 70 1.5 inch shells (35 sandwiches)
Macaron recipe From Not So Humble Pie
Ingredients:
For the macarons:
120g almond meal
200g powdered sugar
100g egg whites, at room temperature
1/4 teaspoon cream of tartar
30-35g granulated sugar
2-4 drops pink gel food coloring
For the filling:
1/2 cup (1 stick) unsalted butter, softened
1.5 cups powdered sugar
1/2 teaspoon vanilla extract
1-1.5 tablespoons strawberry puree (from 1-2 strawberries)
Note: For almond meal, you can grind up your old almonds, or you can buy the almond flour/meal itself. I usually buy slivered almonds in bulk at Winco and grind them myself, but sometimes I use the almond meal from Trader Joes–$3.99/lb bag.
1. For the macarons: Line 2-3 baking sheets with parchment paper or silicone liners. Prep a piping bag with a round tip. Place the bag into a tall drinking glass and cuff the bags opening over the top (this makes it easier to fill the bag).
2. In a large bowl, sift the almond meal to remove any clumps, then weigh out 120g. Some people like to weigh then sift, but I always end up with so many extra lumps/chunky nuts that won’t go through the sieve that I don’t want to be inaccurate in my weights. Sift then weigh.
3. In another bowl, sift the powdered sugar to remove any clumps, then weigh out 200g.
4. Mix together the powdered sugar and almond meal. You can sift both of them again, but I usually don’t, and my macarons turn out fine. Sifting it together makes sure that they’re evenly incorporated with each other, but I just stir with a spoon.
5. Pour the 100g of egg whites into a large stainless steel mixing bowl. Add the cream of tartar. Begin beating the eggs on low speed. Once they are very foamy, begin sprinkling in the sugar as you beat. Increase the speed if necessary, and beat the meringue to stiff glossy peaks. Read here if you’re confused about what this means.
6. If you’re using food coloring, make sure you are using gel food coloring. Add it in at this point, and whip for a few seconds.
7. Add about 1/4 of the almond and sugar mixture; fold with a rubber spatula until no streaks remain (make sure you fold! Don’t stir. It’ll deflate the whites). Continue to add the almond and sugar mixture in quarters, and fold until you reach the proper batter. It is finished when you pick up your spatula and the batter flows steadily. People describe this as lava-like or molten, but I never really understood what this meant… SO it needs to be thick enough that it will mound up on itself, but also fluid enough that it will melt back down after 20 seconds.
8. Pour the batter into the prepared piping bag, and pipe rows of batter onto the baking sheets. Make sure you don’t pipe them too close to each other, because they may spread.
9. Rap the baking pan on the counter to get rid of any air bubbles. If you want, you can pop the air bubbles that come up with a toothpick,
10. Let the macarons rest or “dry” on the counter until they are no longer tacky to a light touch. I know they are ready when I touch it and nothing gets on my finger. It usually takes at least 30 minutes for me, but it depends on the humidity and weather. Try to let them dry in a cool place.
11. When your macarons are almost dry, preheat the oven to 290°F. Bake the macarons on the middle rack of your oven (this depends on your oven). I usually bake one tray at a time.
12. Bake the macarons for 16-20 minutes. When they are done, let them cool completely on the sheets. Once the macarons are completely cool, peel them off by pulling back the parchment paper/silicone mat). The shells should come off easily. If not, put them back in the oven for 2 minutes.
13. For the filling: Place butter in a mixing bowl; cream until smooth. Add the powdered sugar and beat until light and fluffy. Add the vanilla and strawberry puree (which is just strawberries blended in a food processor/blender/coffee grinder); beat until combined.
14. For Assembly: Match up each shell. Fill a pastry bag filled with the strawberry buttercream. Pipe a small mound of the buttercream into the center of the shell, then sandwich each shell with its other half. Do this for all the shells.
15. You have two options now: a) Eat them all. b) Put them in the fridge, and let the flavors develop overtime. I usually just leave them overnight, since I’m always baking at night. Leave the macarons in the fridge when you’re not eating them, then when you’re ready to serve/consume them, let them warm up a bit so the macaron can soften. Or eat them straight from the fridge, like me. Your choice =).
I hope that wasn’t too confusing! Like I’ve said before, the two tutorials I linked to early are really great and much more informative, so refer back to those! But feel free to ask me any questions, and I’ll be happy to (try to) help. =) BUENA SUERTE!
Until next time,
Soli Deo Gloria, and Happy reading, eating, and baking!
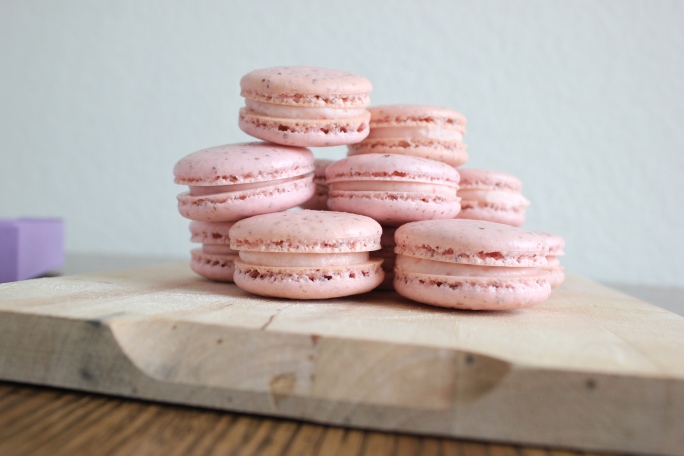
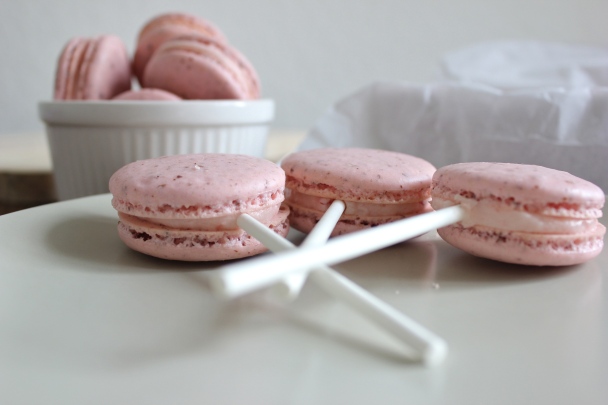
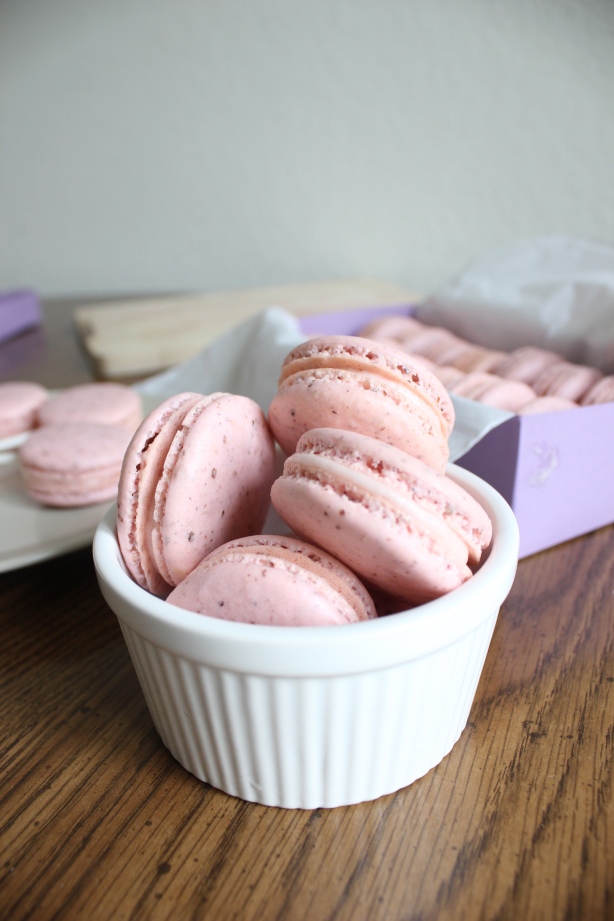
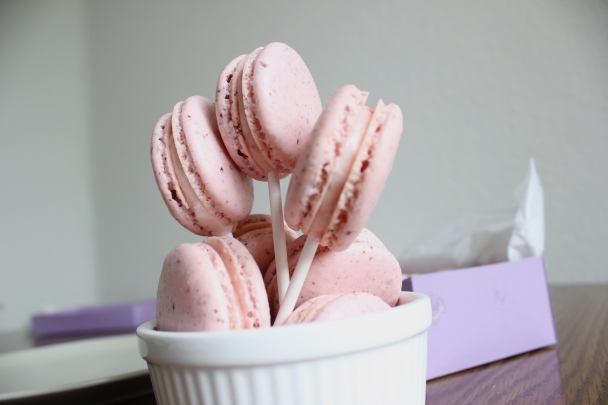
Those look great especially the nice pink color!
berry macaroons are my favorite! they came out great.
Thanks!!! And they’re one of my favorites too! =)
These are just so pretty! And thank you for sharing your tips, I have only attempted making macarons once but they were a complete disaster. I was put off trying again for a while but maybe I’ll be brave and give it another go… I look forward to your tutorial if you make one :-)
Hi!! Thanks so much :) thanks for visiting! How funny–I was just looking at your blog earlier today! I spotted your ombré cake on foodgawker. But you should definitely try again!! Practice makes perfect! =)
Pinkish color is just amazing!!!!! I do love macaroons!!!
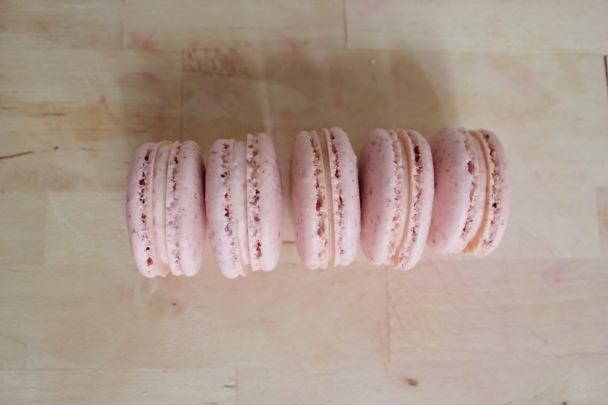
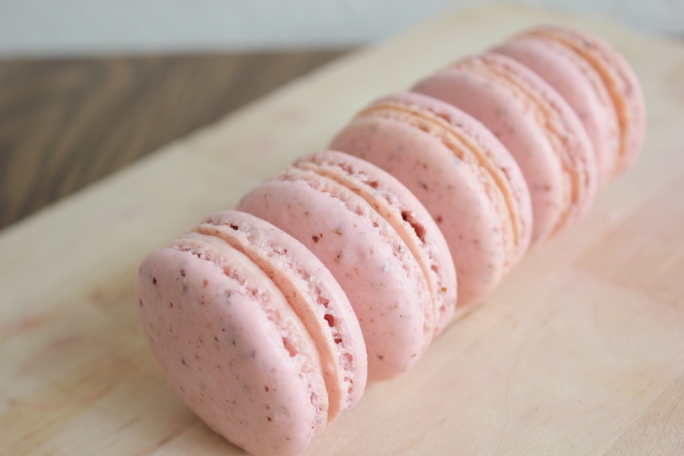
Hello. Very nice blog and very nice macarons. I noticed that the macarons have flecks or specks of something. Did you use blanch almond meal? Where I live I cannot get blanched or slivered almonds so I would have to grind my own with the skin on or I guess I could blanch them myself but what exactly is the norm for macarons? Is it even that necessary?
Thanks
Hi Christina!! Thanks for visiting! :) For these, I used almond meal, which are ground up roasted almonds. Blanched almonds are not necessary. You could blanch them yourself, but that would take a lot of work! Most people use blanched almonds, but I think that’s just for the speck-less looks. I think using whatever you have on hand is fine. To me, they taste basically the same!
I hope that answers your questions!
I was just about to ask about those specks, so I’m glad you did Christina. I like the flecks, i think they pick up the color and just make them look pretty. I usually make my chocolate macarons with hazelnuts and i’m WAY too lazy to skin them myself! I also find that walnuts make fantastic macaron, even with the skins on. These are lovely macarons; i can’t wait to try that strawberry filling. Thanks for sharing, Grace!
Thanks so much! I have yet to try making macarons with different nuts! One of these days, I hope. Thanks for visiting =)
love the recipe. i made them for my sisters babyshower.
:)
Amazing recipe ! Can’t wait to try it out myself very soon. I struggle to find recipes with the kind of appearance you have provided. Delicate small feet and perfect shape. I prefer the small feet macarons then large “puffy” one. I’m going to make a strawberry ganache instead of buttercream . Amazing tutorial, happy baking and wish me luck ~ ;)
Thanks so much, Talulah! Hope they turned out well!
P.S. I love this recipe, too! I’m too scared to try anything else.
I love this tutorial! I made lemon ones last night and filled them with berry jam. I let them sit over night in the fridge, and while they tasted delicious, they looked like a blob of yellow and red poo sandwich! Hoping my next batch turns out better now that I’ve read this!
Thanks, Brittany! Berry jam is a good idea–I’ll have to try that soon. Hope your next batch turned out well! :)
These look great!! In general, are macarons not suppose to have any flavour (except sweetness) in the shells? And most of the flavour comes from the filling? I think I read that somewhere…. is this true?
Hi Christina!
Most macarons are flavored through the filling. Some recipes add flavors to the shells, but only with powders (ground up freeze dried fruit, tea powders), and I haven’t played with that because I’m scared I’ll mess up the recipe. I’ll try it one of these days, though! As far as I know, most of the flavor comes from the filling.
Thanks for the compliments and visit!
Pingback: Macaron: today we celebrate this delicacy | Healthy Lifestyle
Pingback: Baking Through the Alphabet: L is for Lemon French Macarons | grace(full)eats
Hello, may I know did u add anything else to ur macaron shells? They look like they have dried fruits 😅😅
Hi! Sorry for the very late response–I only added food coloring to the macaron shells. What you probably see are the specks from the almond meal.