Haunted Marshmallow Ghost Pop-Tarts
This post may contain affiliate links, please visit our privacy policy for details.
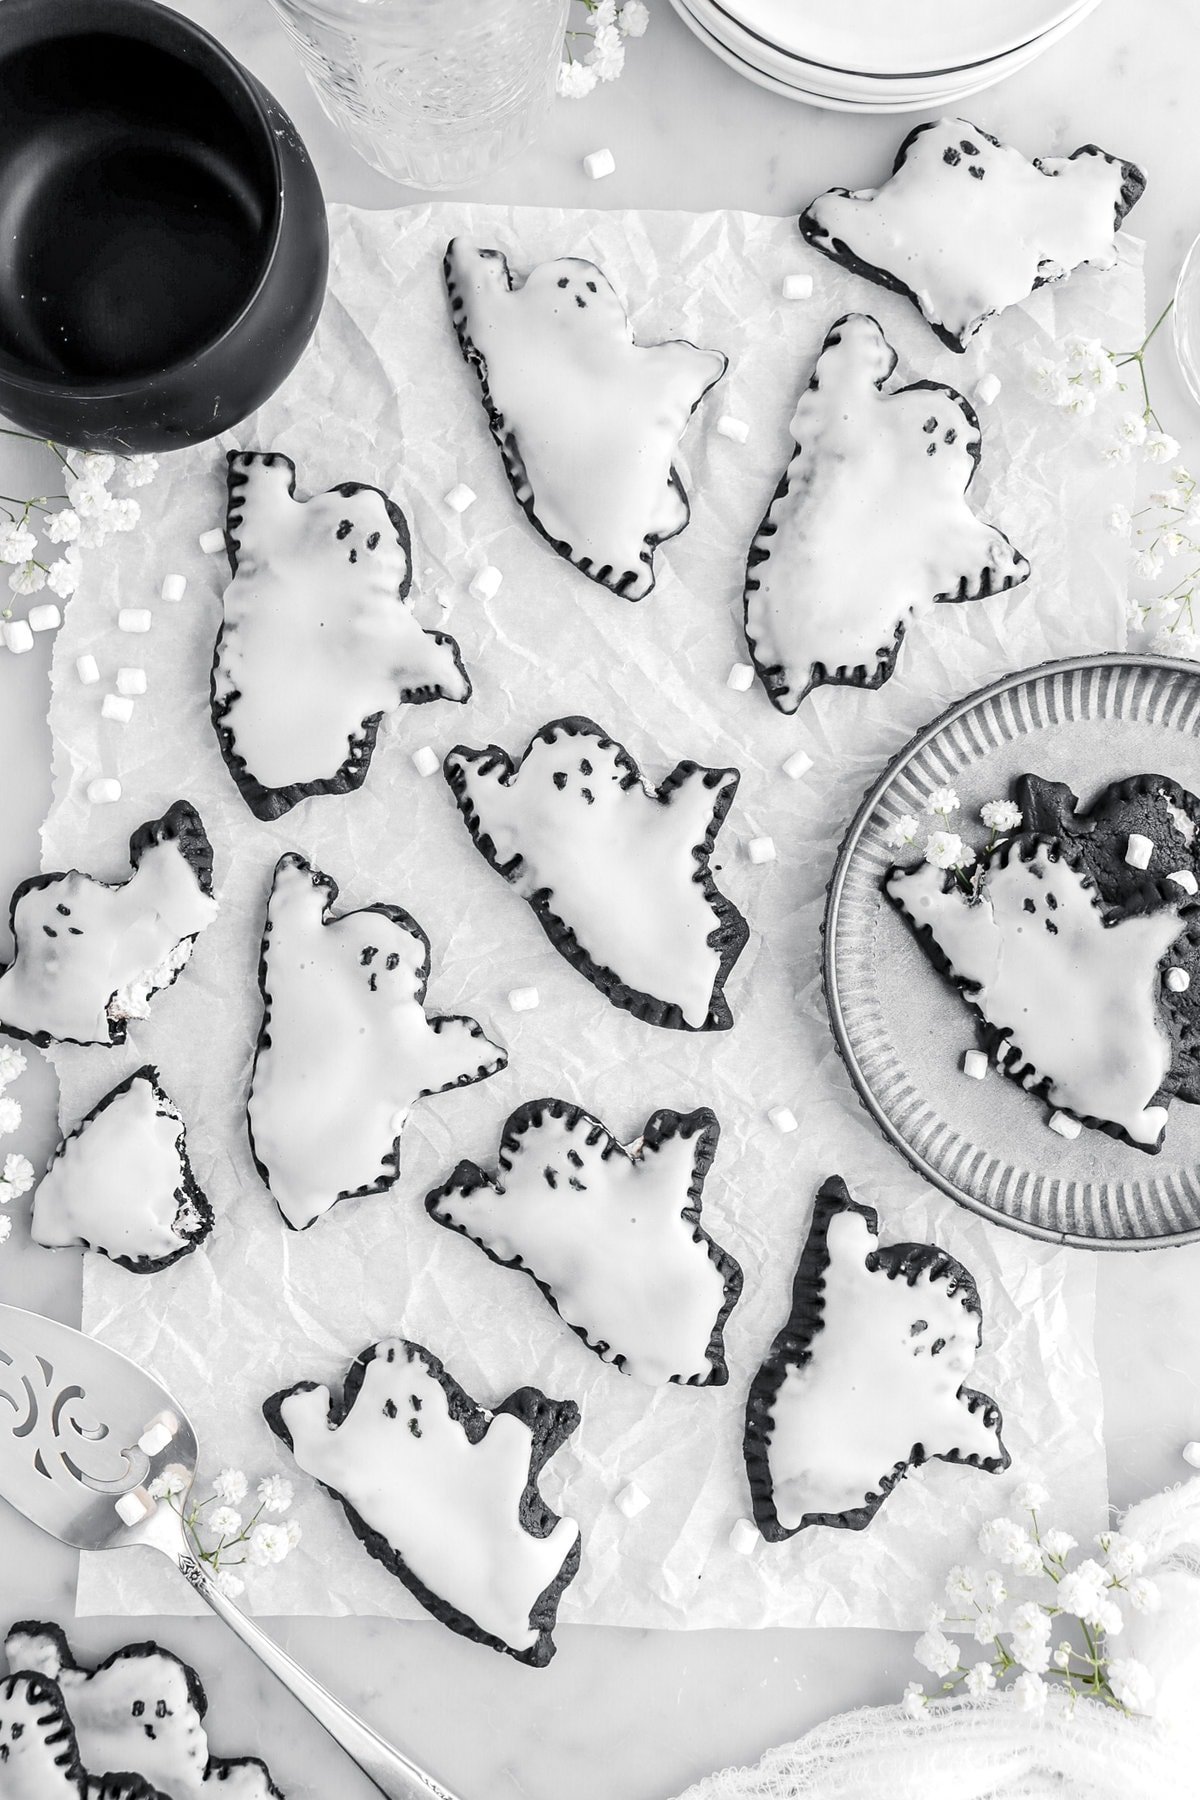
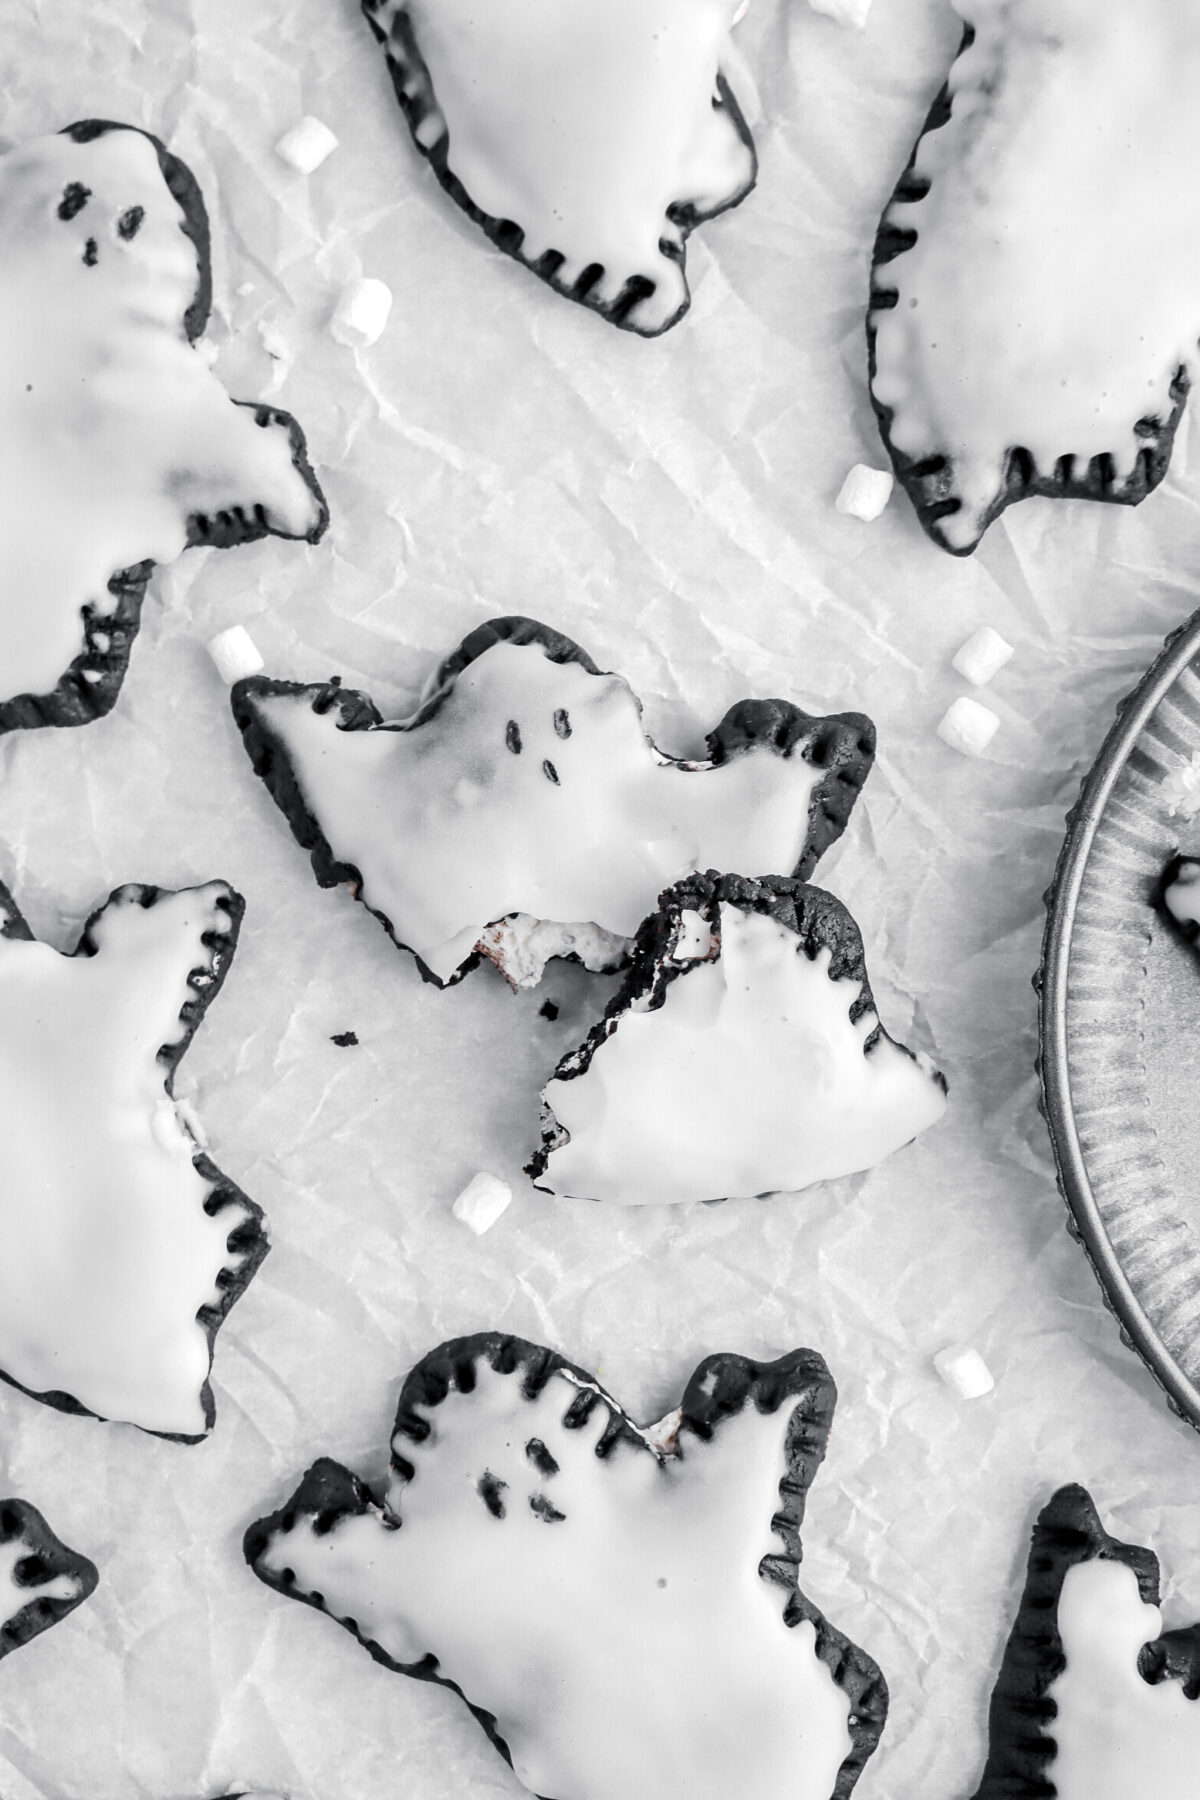
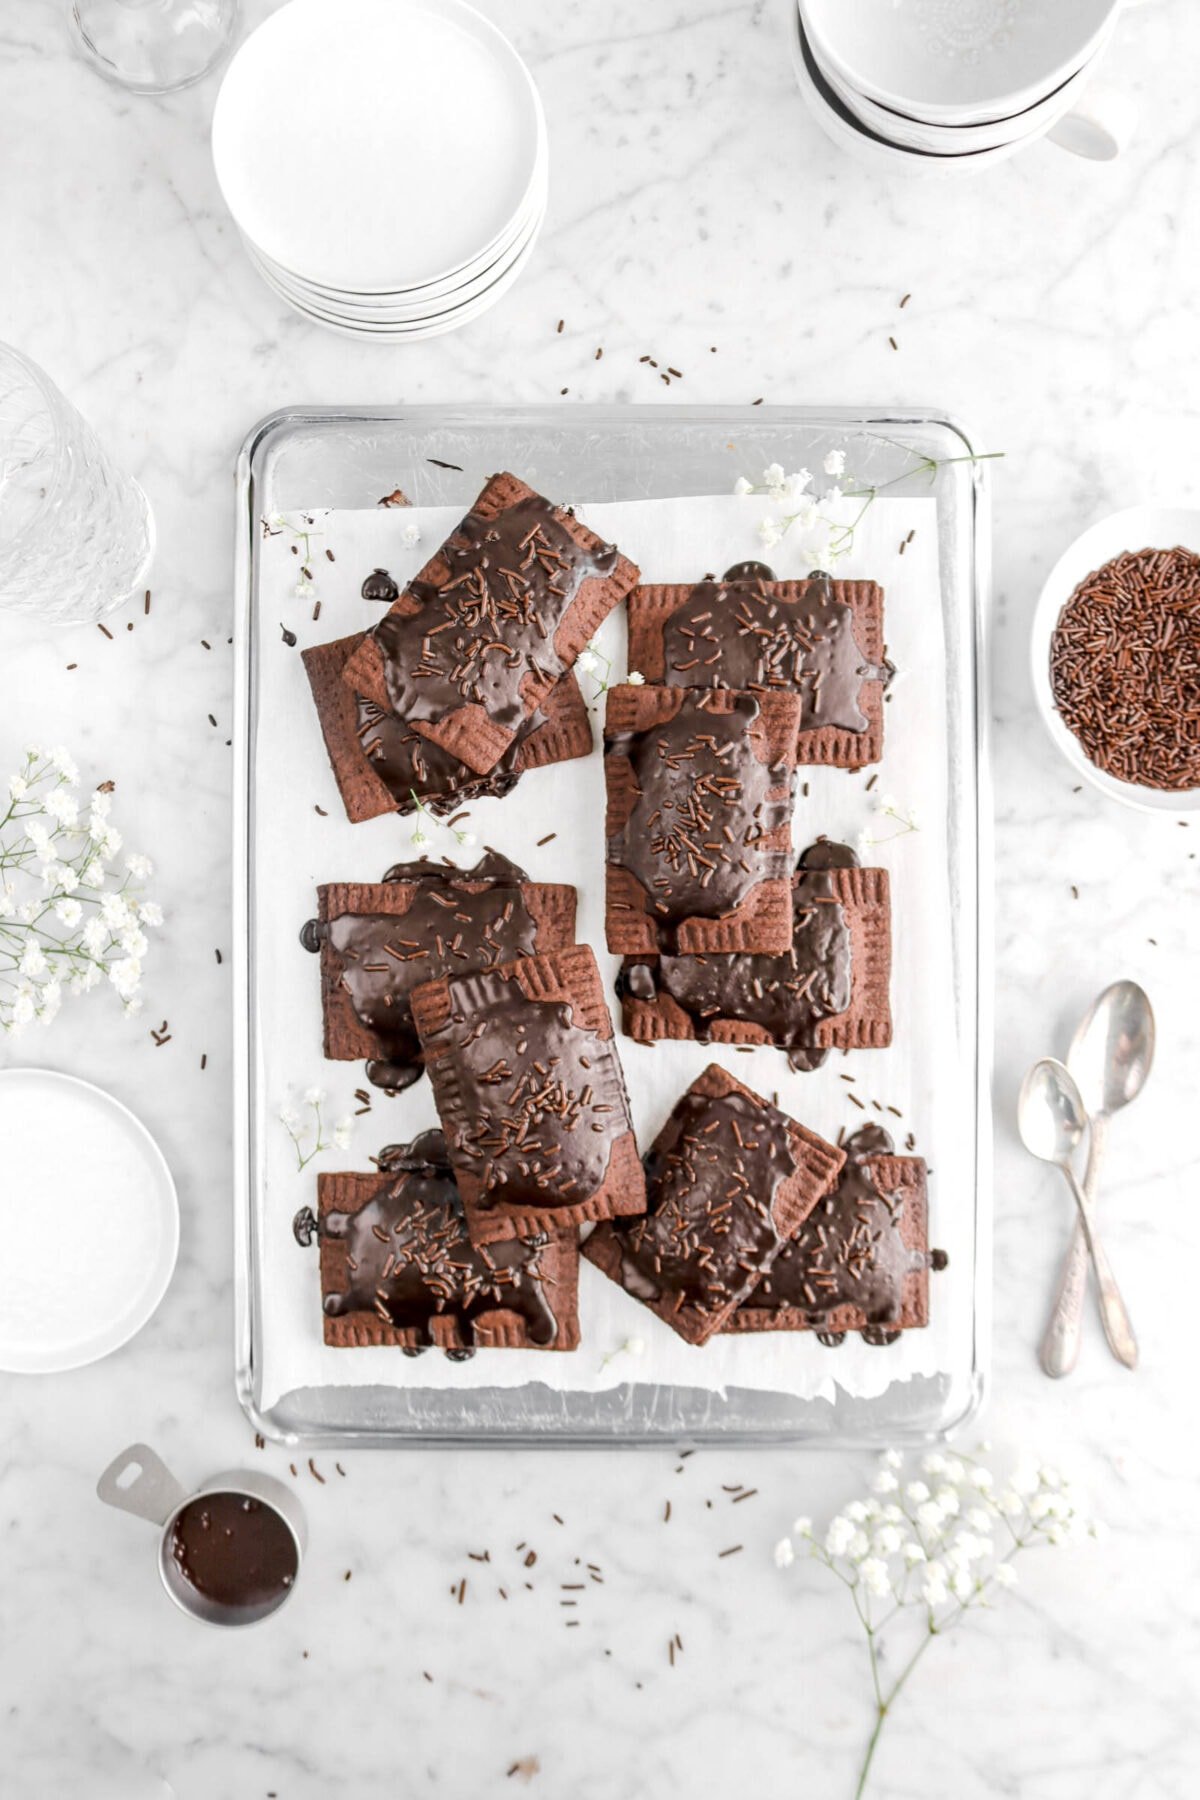
BOO! Tender and extra chocolatey Haunted Marshmallow Ghost Pop-Tarts are a such fun indulgence. You don’t need to be a professional baker to make the spookily delicious pop-tarts. An easy-to-make pastry dough made with only a handful of ingredients and a secret ingredient that not only gives it flavor but also naturally dyes the dough…black cocoa powder! Each pastry is cut into little ghost shapes, filled with marshmallow fluff, and baked. It’s so simple, but SO delicious. Whether you’re looking for a terrifyingly cute way to start your October mornings or need snacks for your upcoming Halloween bash, these Ghost Pop-Tarts are the perfect treat!
About The Recipe
BOoOOOoOOo! Happy Friday, everyone. I am so excited for today. Why? Well, we are one day closer to the best day of the year…Halloween! Plus, we’re finally sharing these oh-so cute ghost pop tarts.
This is an idea that my mom and I have had since last October, but we just didn’t have the time to test it, shoot it, and share it…that is, until now!


These pop-tarts are reminiscent of some of my childhood favorite pop-tarts (cookies & creme, anyone?) . They’re chocolatey, extra sweet, and (most importantly) extra marshmallowy!
Although I will admit, when we were developing this recipe, we thought our ghost cookie cutter was a bit larger than it actually was…so the recipe made 32 pop-tarts rather than the 16 or so we were planning on.
We spent all day making little ghosts! Honestly, It was so much fun, but it was quite a bit to make. So, we scaled back the recipe to give you all something much more manageable. The step-by-step images below show a bit more ingredients than what’s actually needed.
But, no worries! The recipe is put together the exact same way and doesn’t change how it looks/how it needs to be mixed.
Luckily, my mom and I (plus our friends and family) love the combo of chocolate and marshmallow – so, we’re able to eat some and share some!
They’re cute, easy to make, and perfect for snacking when you want a bite of something sweet during spooky season. Plus, they’re loved by kids and adults alike!
The best part? Getting to draw their little faces on!
No matter how you choose to have them express themselves, these pop-tarts are the perfect scary treat.
What Are Pop Tarts?
First off, if you’ve never had pop tarts, I am so sorry. Secondly, expect your life to be changed from today forward!
Pop-Tarts are toaster pastries created by Kellogg’s in 1964. Essentially, it’s a sweet filling incased in two layers of thin pastry. The filling comes in a wide ranges in flavors, from jam to cookie dough! There are also a few different flavored crusts, but it’s typically just plain, sweetened pastry.
This recipe is our version to fit with Halloween!
Reasons You Will Love These Marshmallow Ghost Pop Tarts
- The perfect treat for Halloween!
- Rich and chocolatey pastry filled with marshmallow.
- Can be made with or without the icing, depending on your preference.
- So much easier to make than you might think.
- Tastes even BETTER than store-bought!

Equipment Needed
- Food Processor
- Rolling Pin
- Ghost Cookie Cutter
- Sheet Pans
- Parchment Paper Sheets
- Piping Bag
- Fork
- Mixing Bowl
- Whisk
- Edible Marker
Ingredients
Full ingredient amounts and instructions can be found in the recipe card at the bottom of the post.
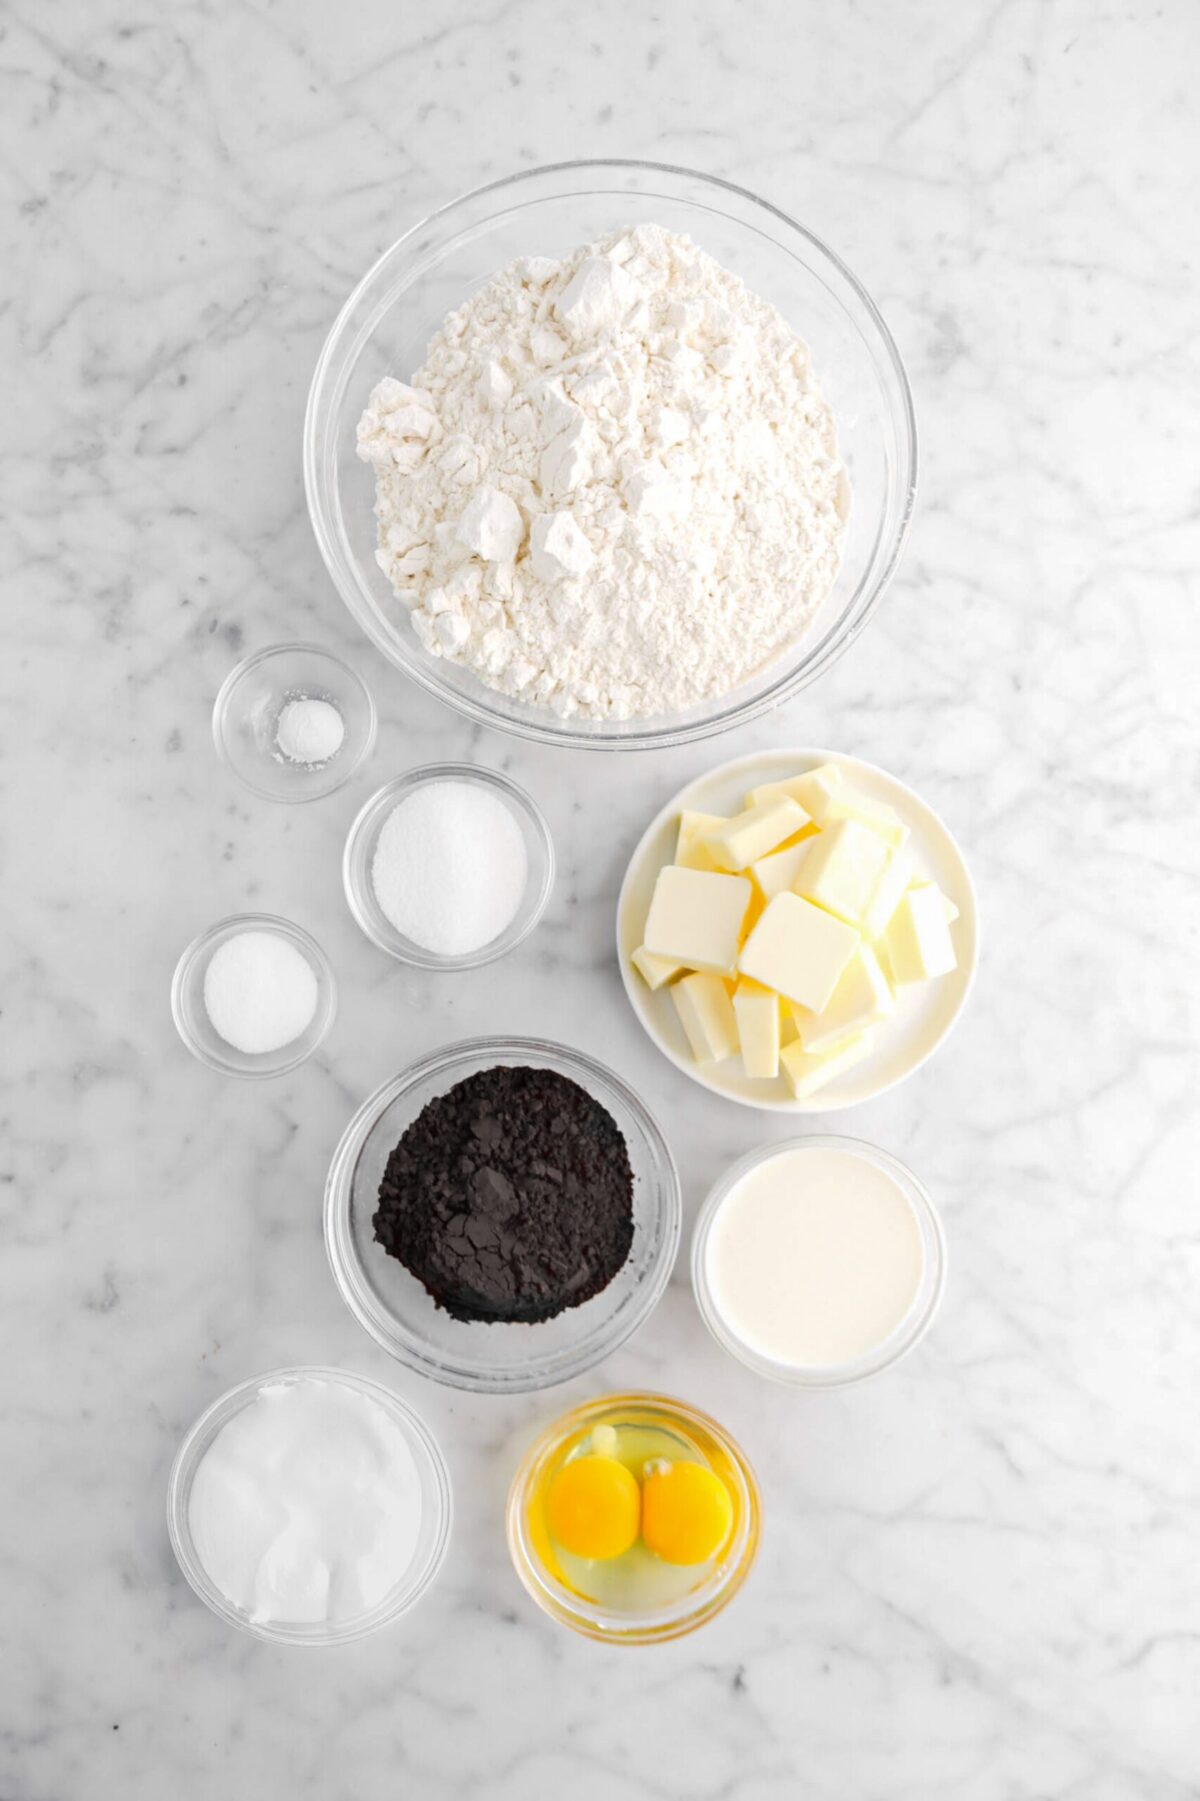
For The Pop-Tarts:
- All-Purpose Flour – gives this pastry a tender crumb and excellent structure.
- Black Cocoa Powder – naturally dyes the dough and adds an incredibly rich chocolate flavor. It’s our secret ingredient!
- Granulated Sugar – adds just the right amount of sweetness and helps make these pastries tender.
- Salt – enhances the flavor.
- Baking Powder – provides just a little bit of leavening to help this pastry rise.
- Unsalted Butter – gives this pastry its flaky texture!
- Egg Yolk – acts as a binder, as well as making the dough more flavorful and easier to handle.
- Heavy Cream – has a high fat content that makes the crust richer, but also oh-so tender and delicious.
- Marshmallow Fluff – is the filling for the pop-tarts!
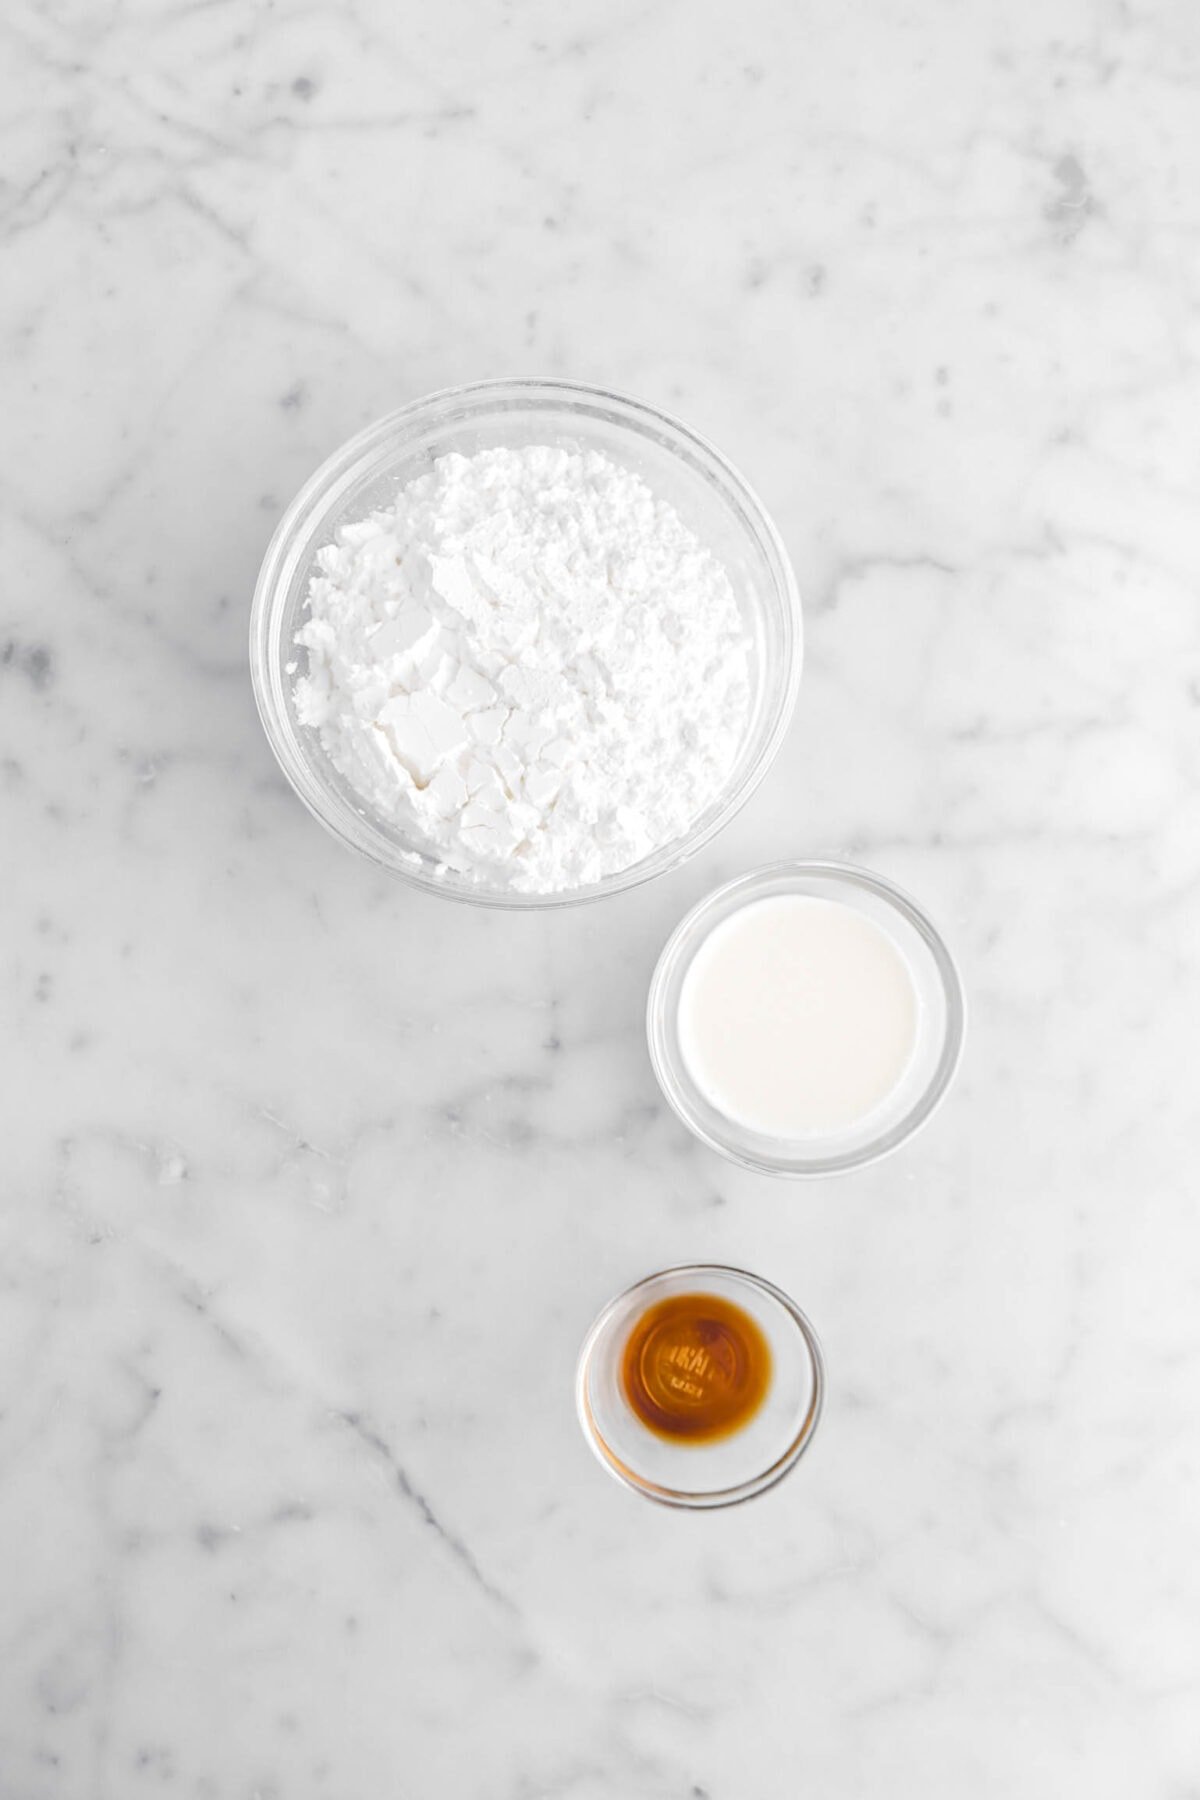
For The Icing:
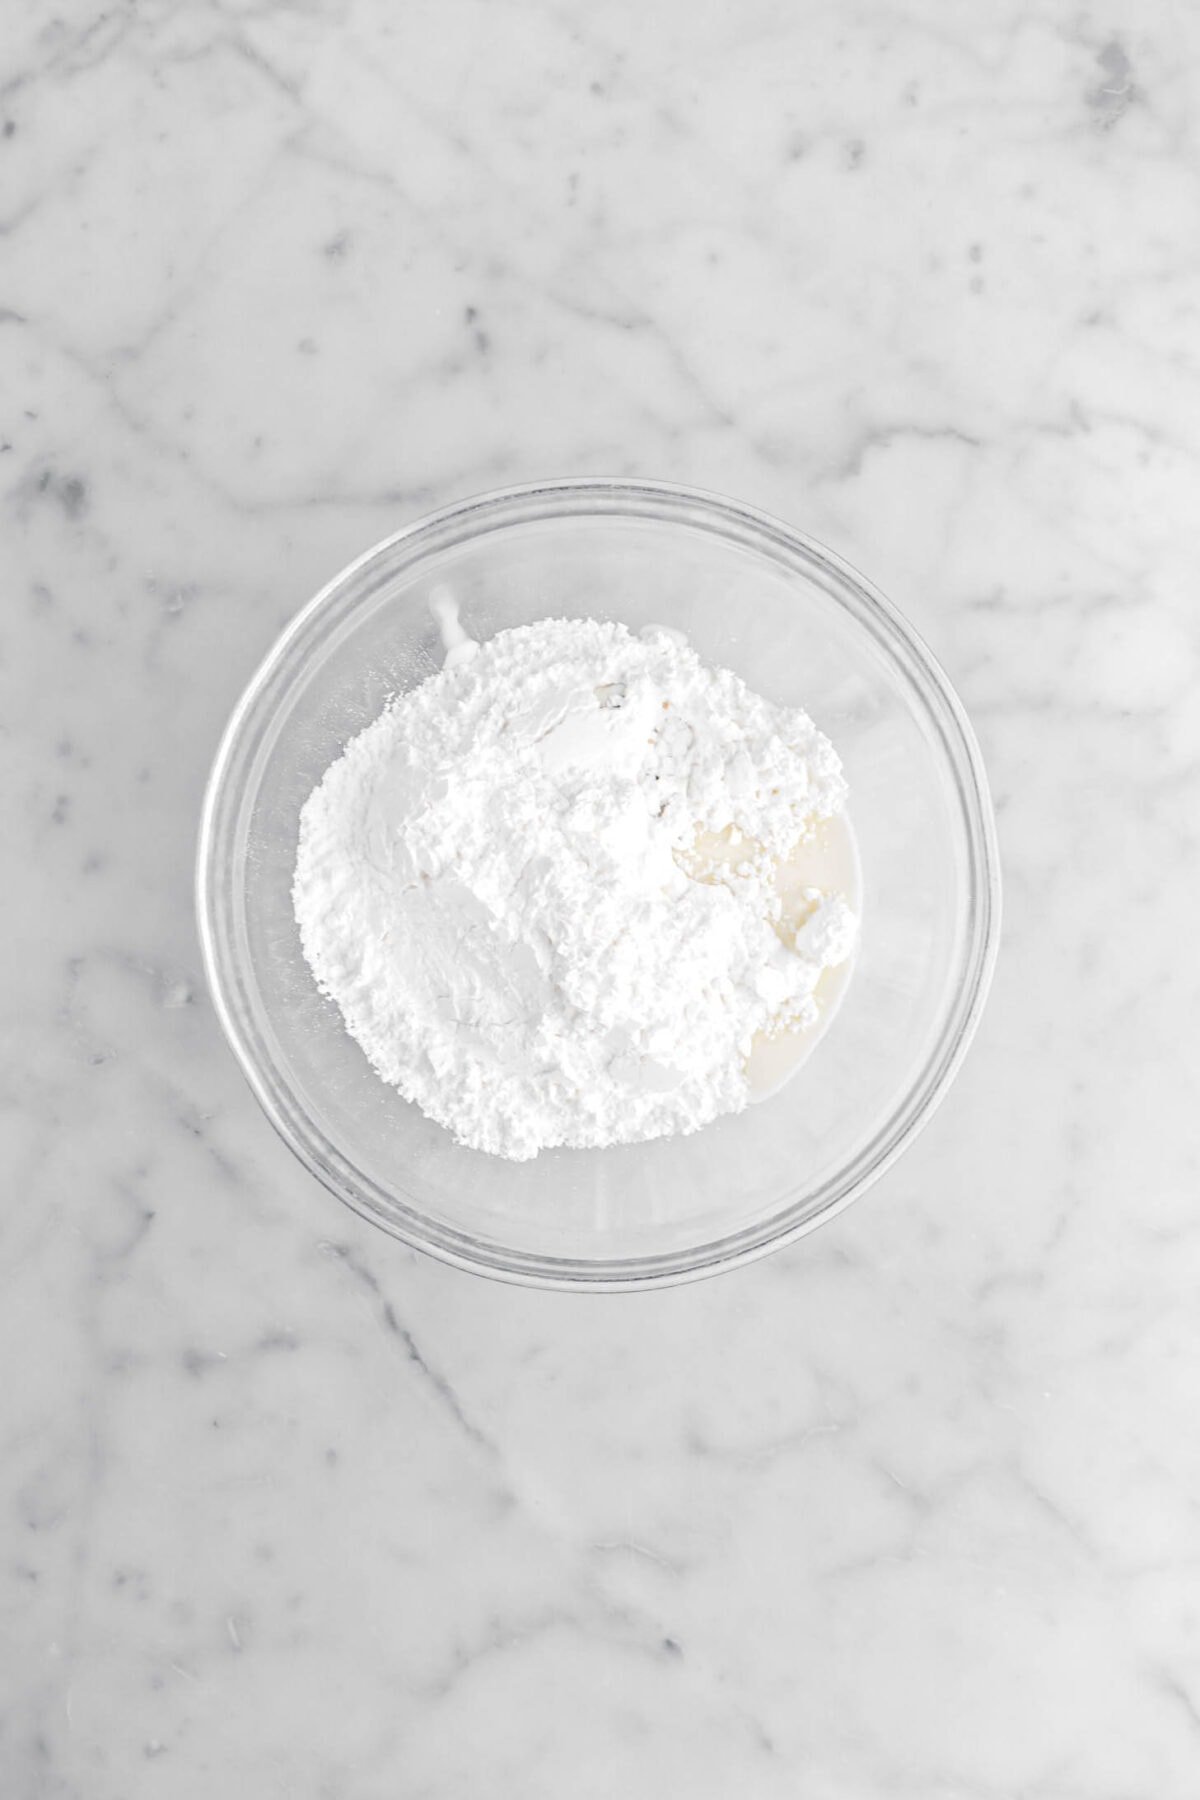
- Powdered Sugar – melts easily and forms the base for this icing.
- Whole Milk – is the perfect consistency to keep this icing from becoming too thick when mixed.
- Vanilla Extract – gives this icing its yummy vanilla flavor that perfectly complements the chocolate and marshmallow in the pop-tarts.
How To Make Marshmallow Ghost Pop Tarts
Step 1: Prepare dough
Combine flour, cocoa, sugar, salt, and baking powder in the bowl of a food processor fitted with the dough blade. Pulse a few times to combine.


Add butter, a little at a time, pulsing after each addition. Process until butter is evenly distributed through flour mixture.

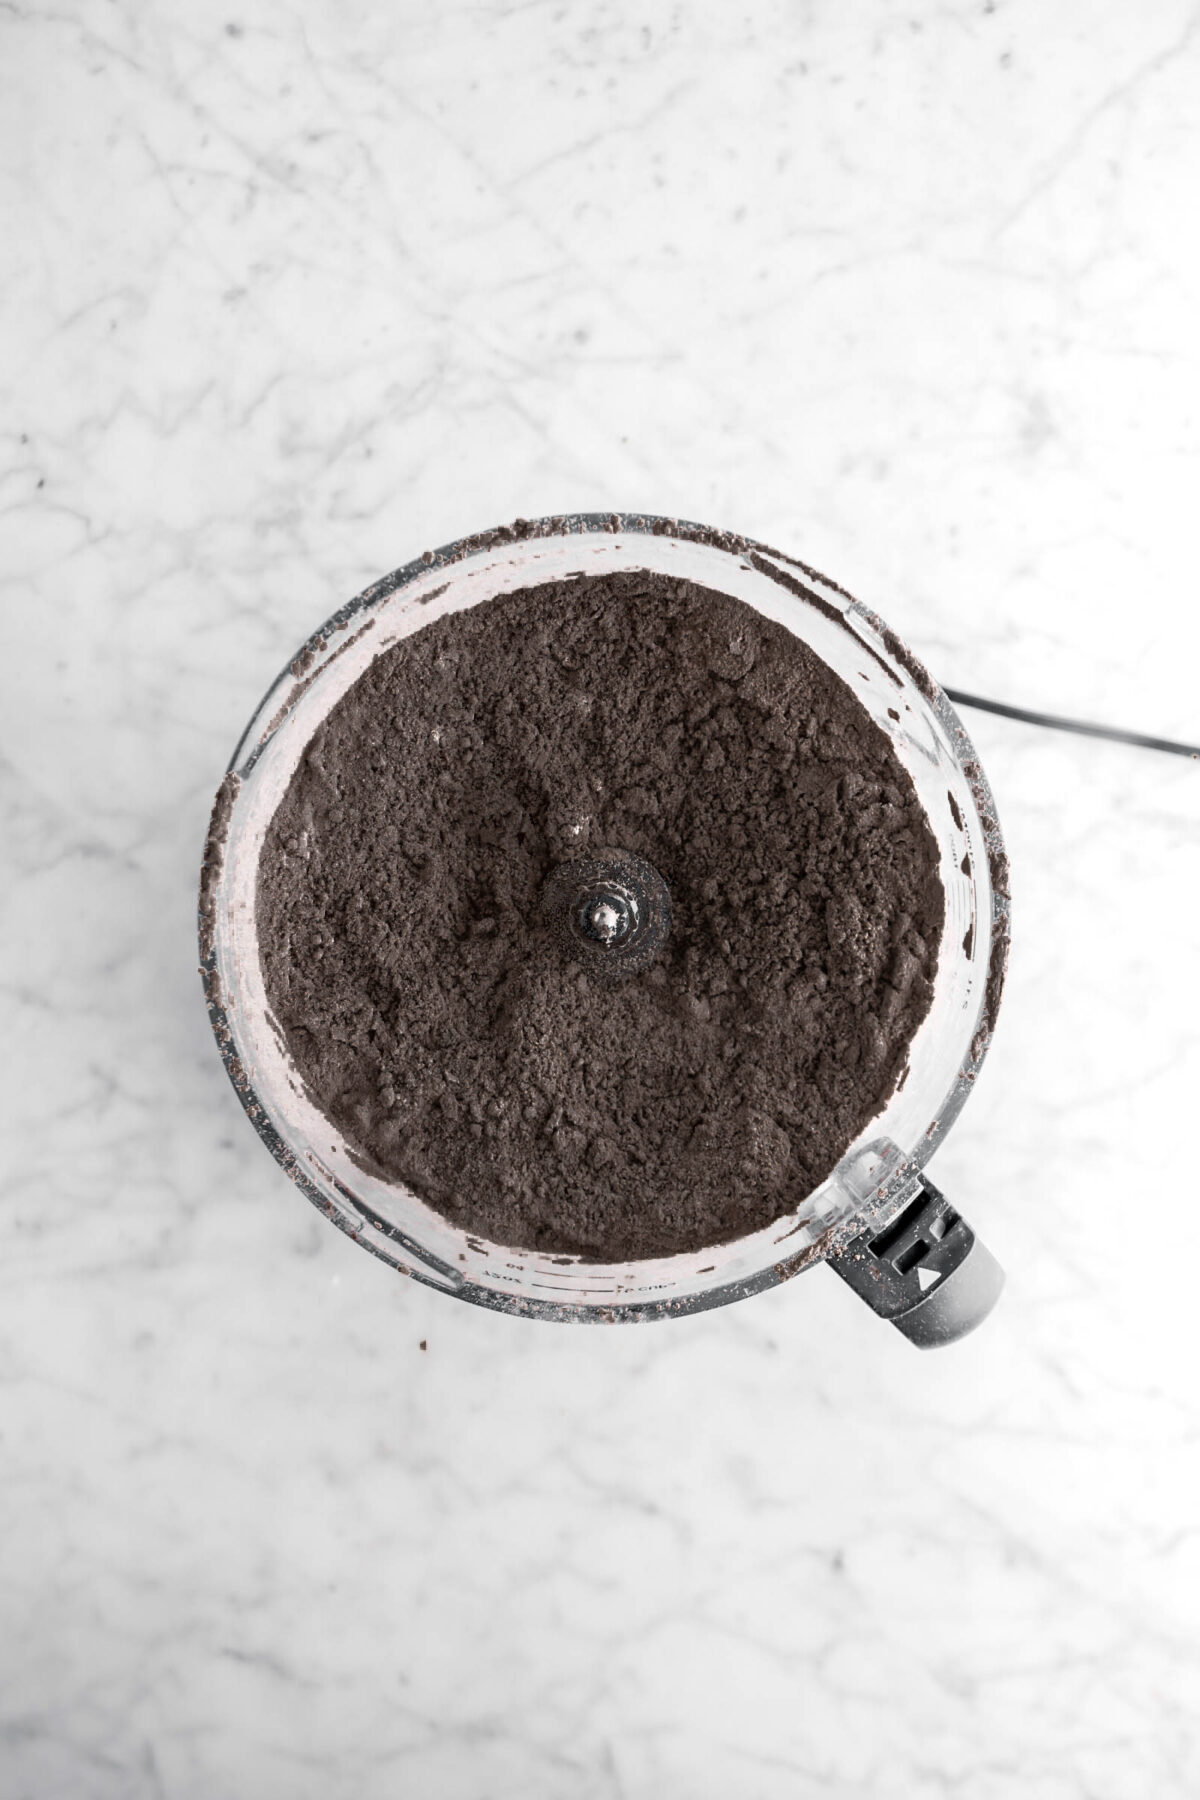
Add egg yolk. Pulse to combine.


Add cream. Process until mixture becomes a smooth dough.
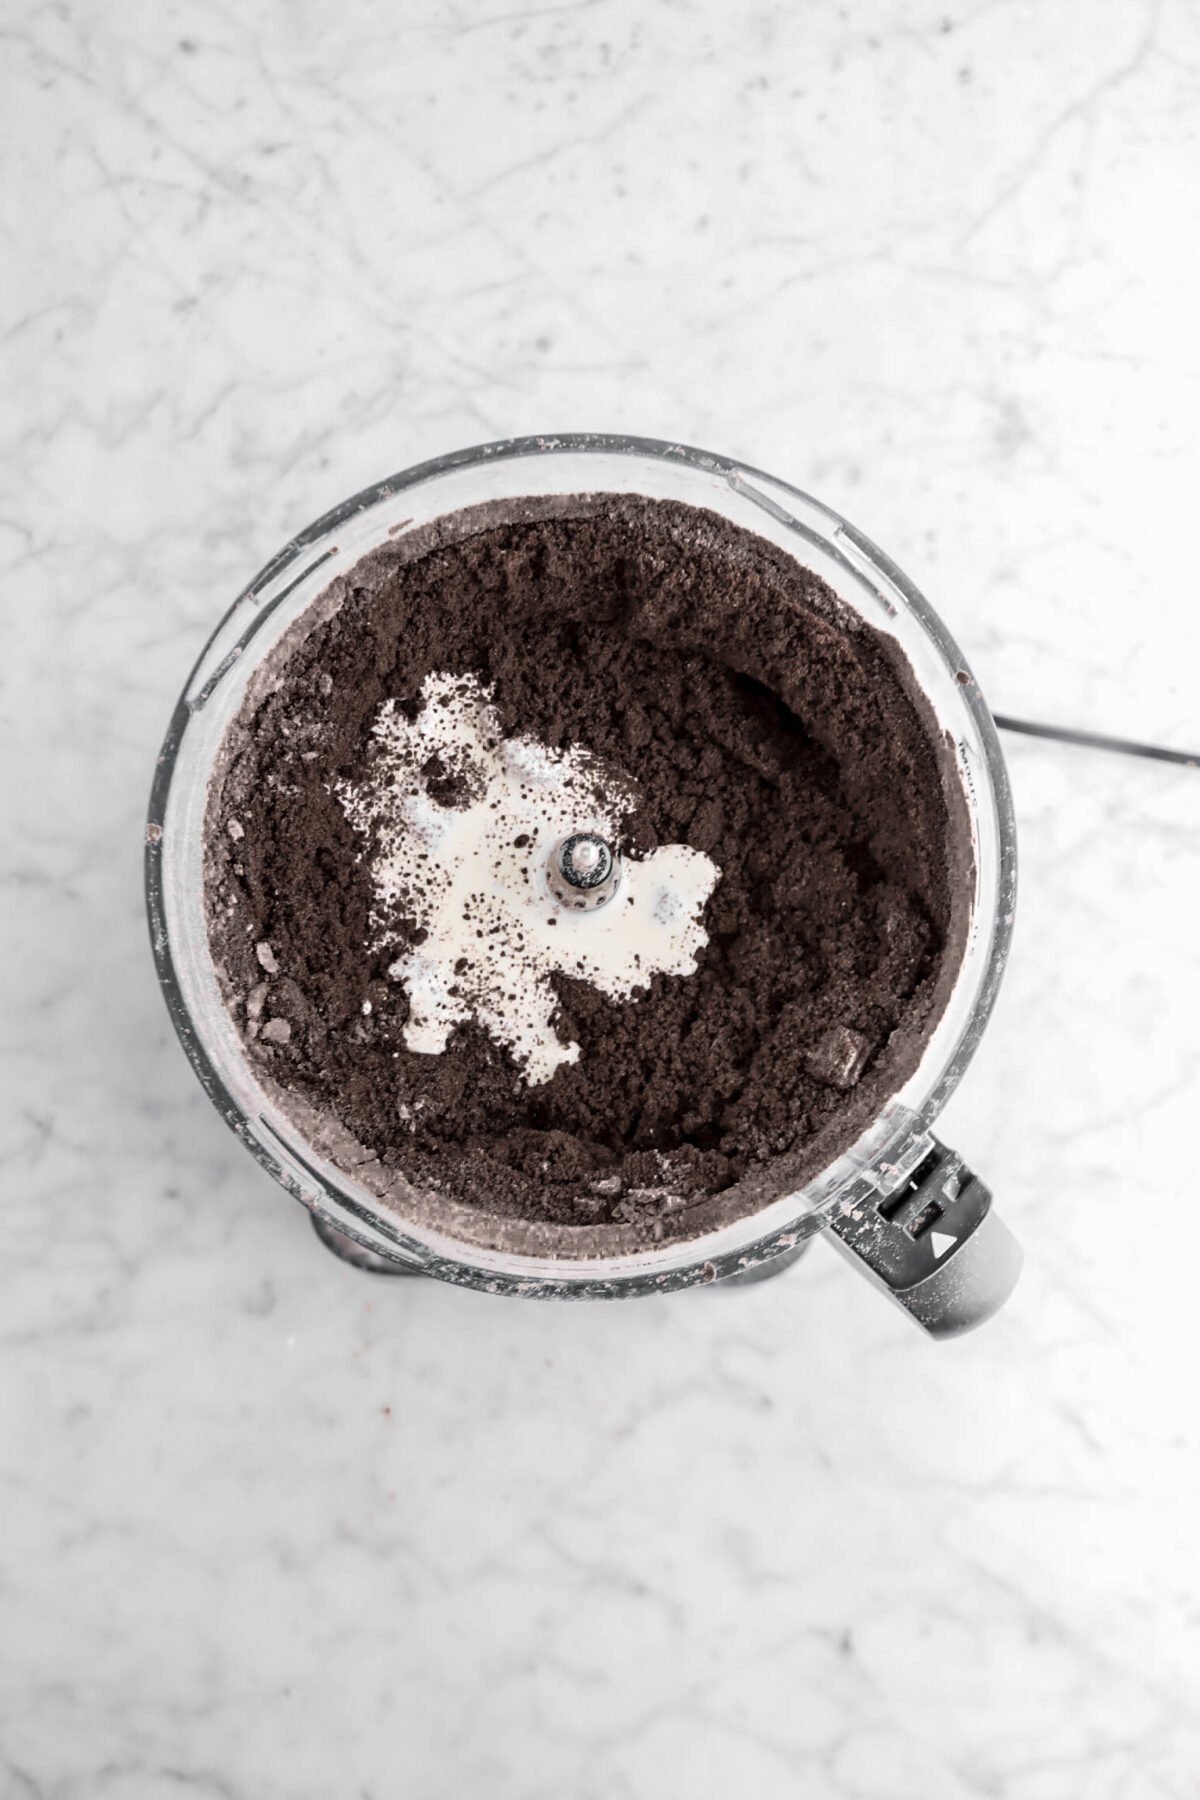
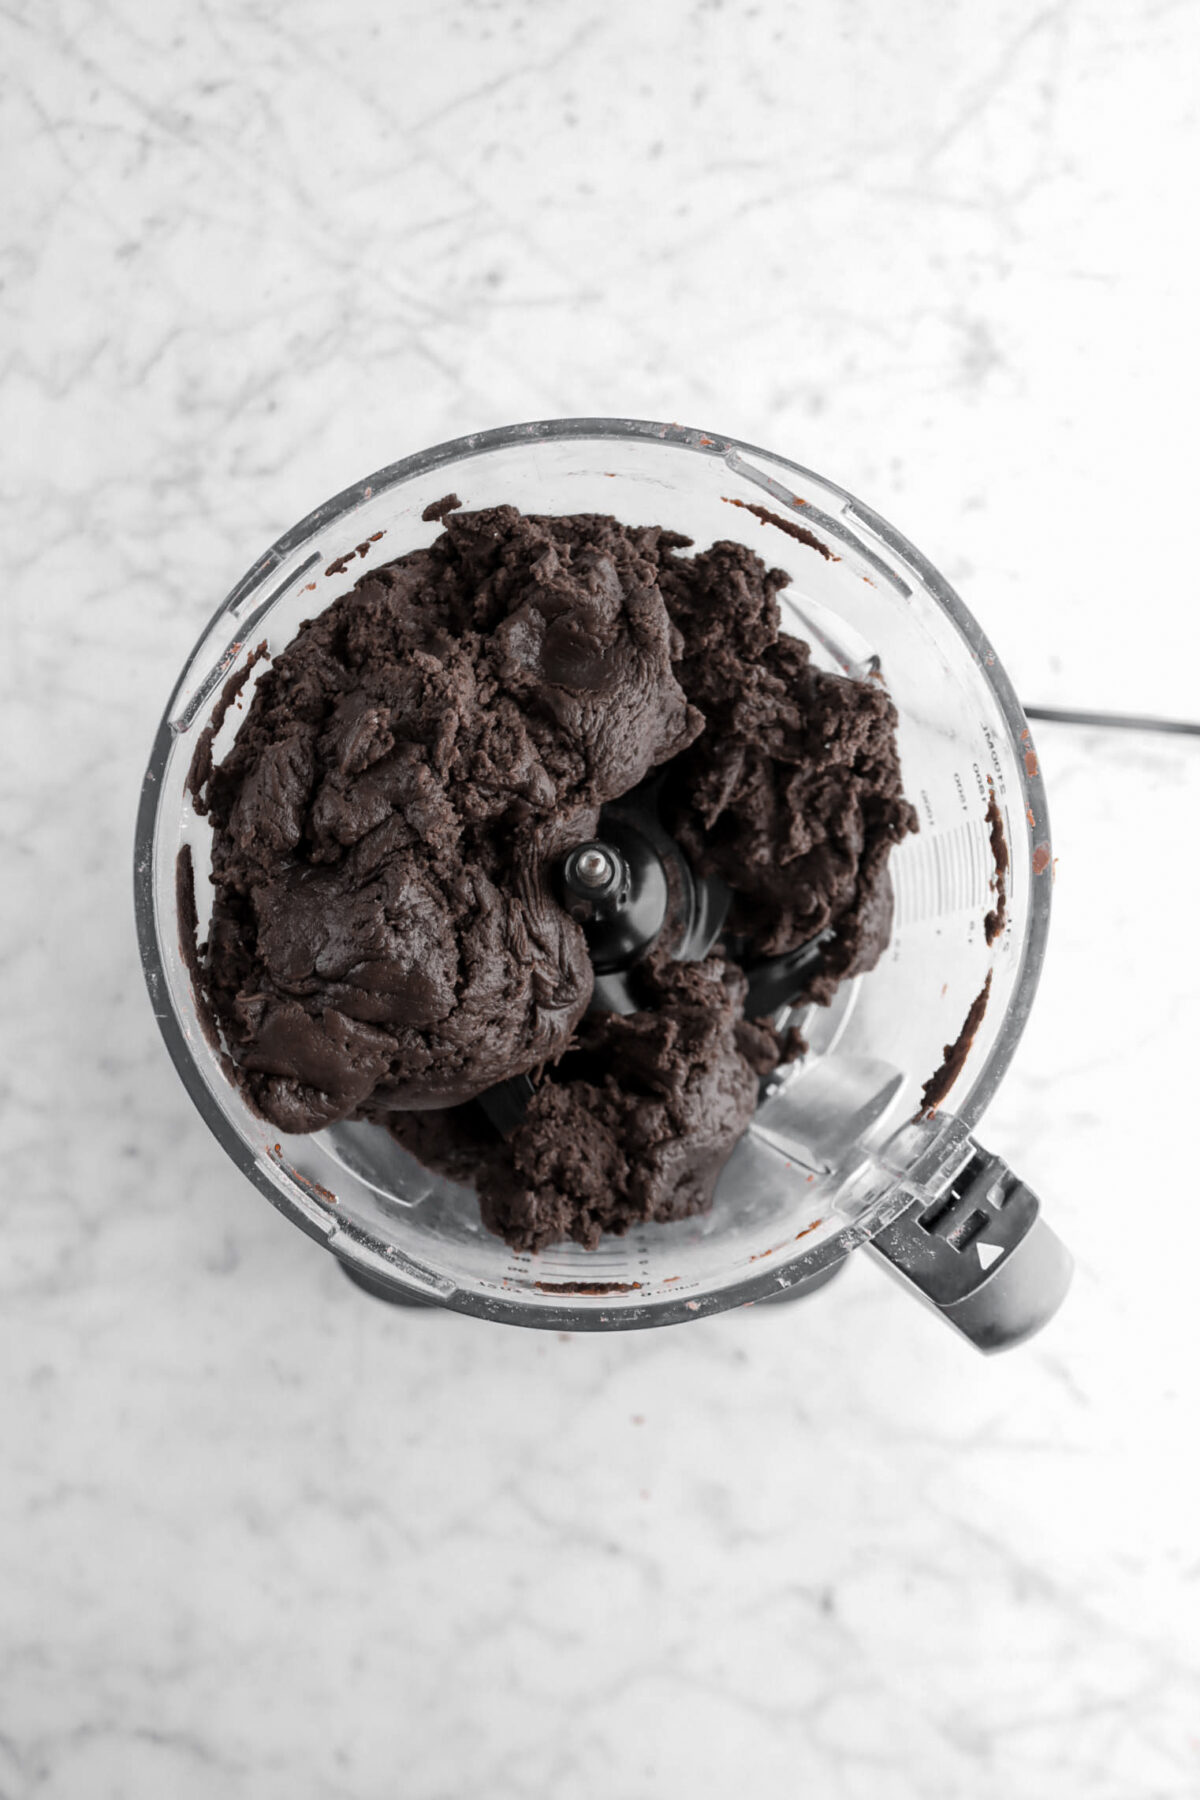
Step 2: Roll and cut
Remove dough from food processor. Roll out on an un-floured non-stick surface (marble, parchment paper, silicone mat) to ⅛ inch thick.


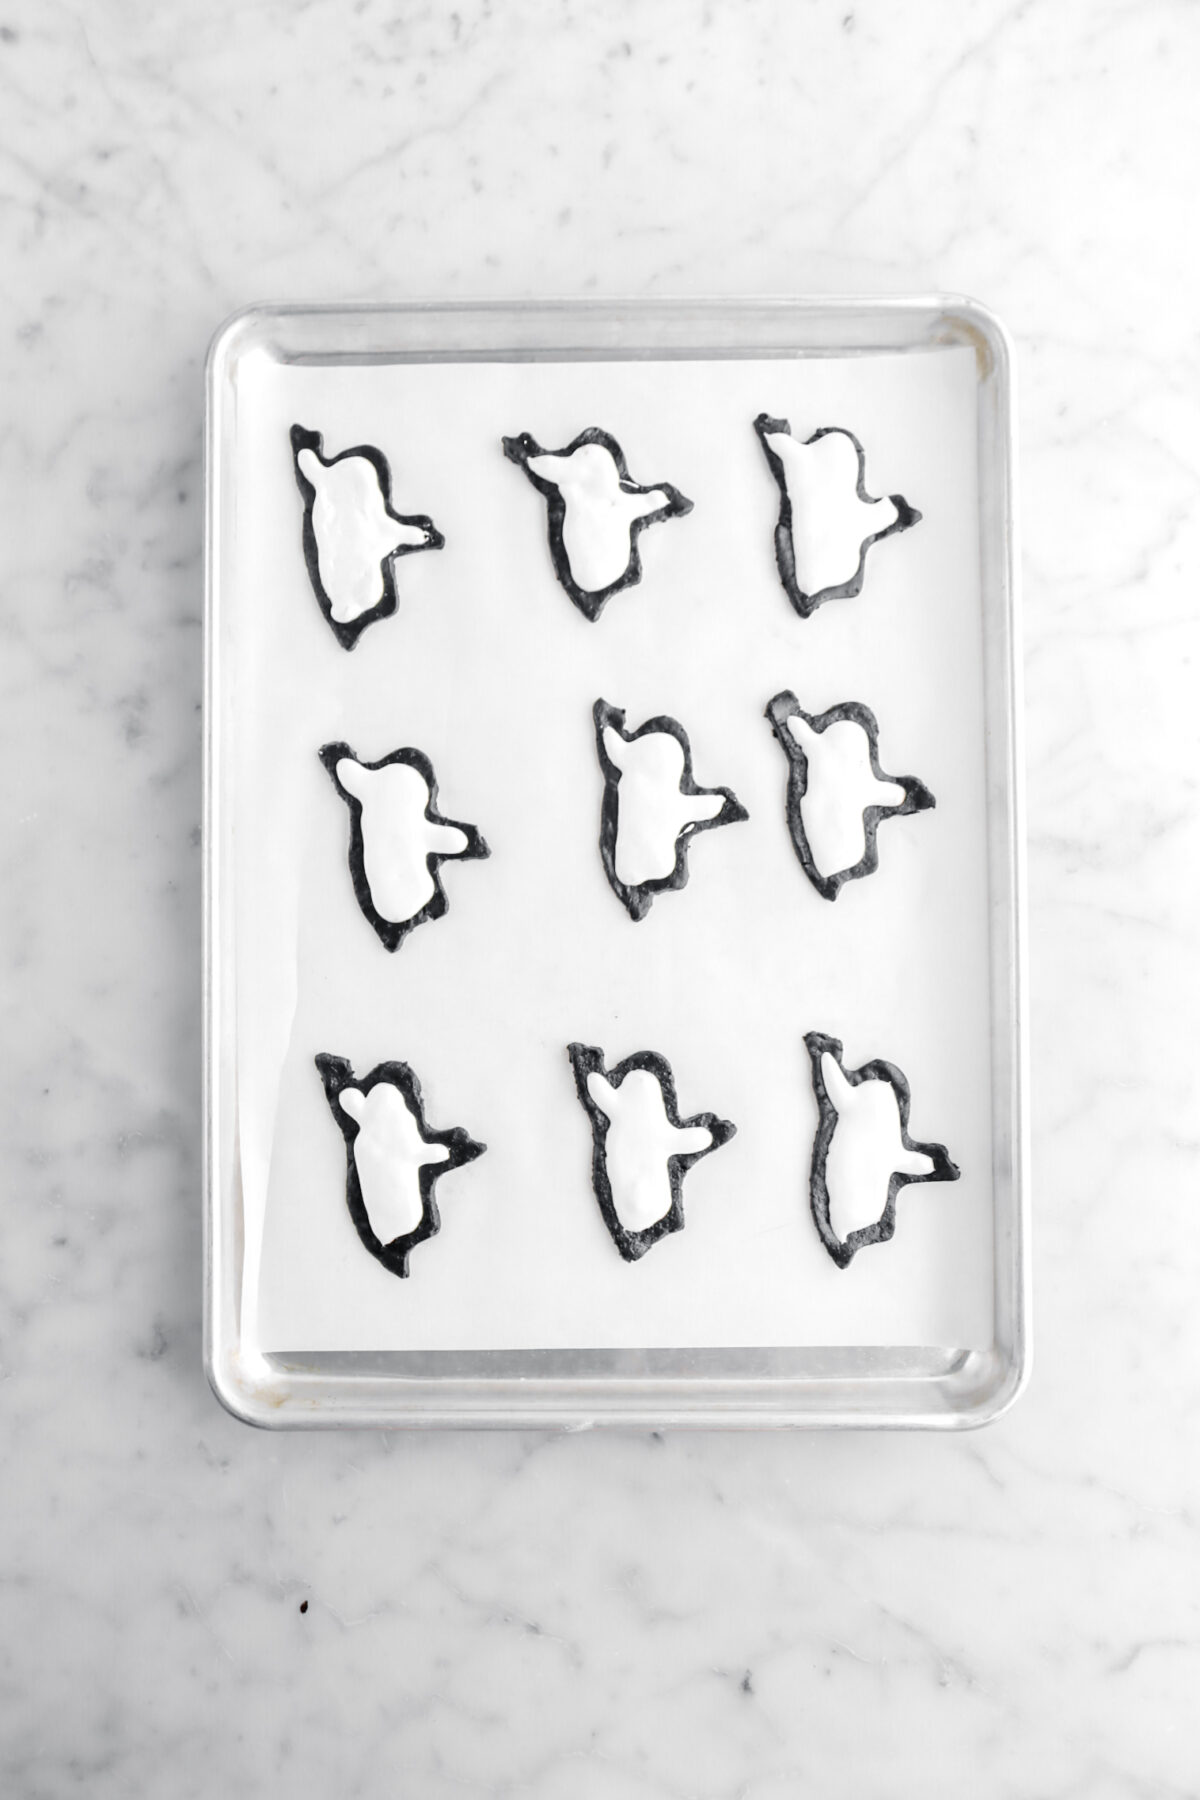
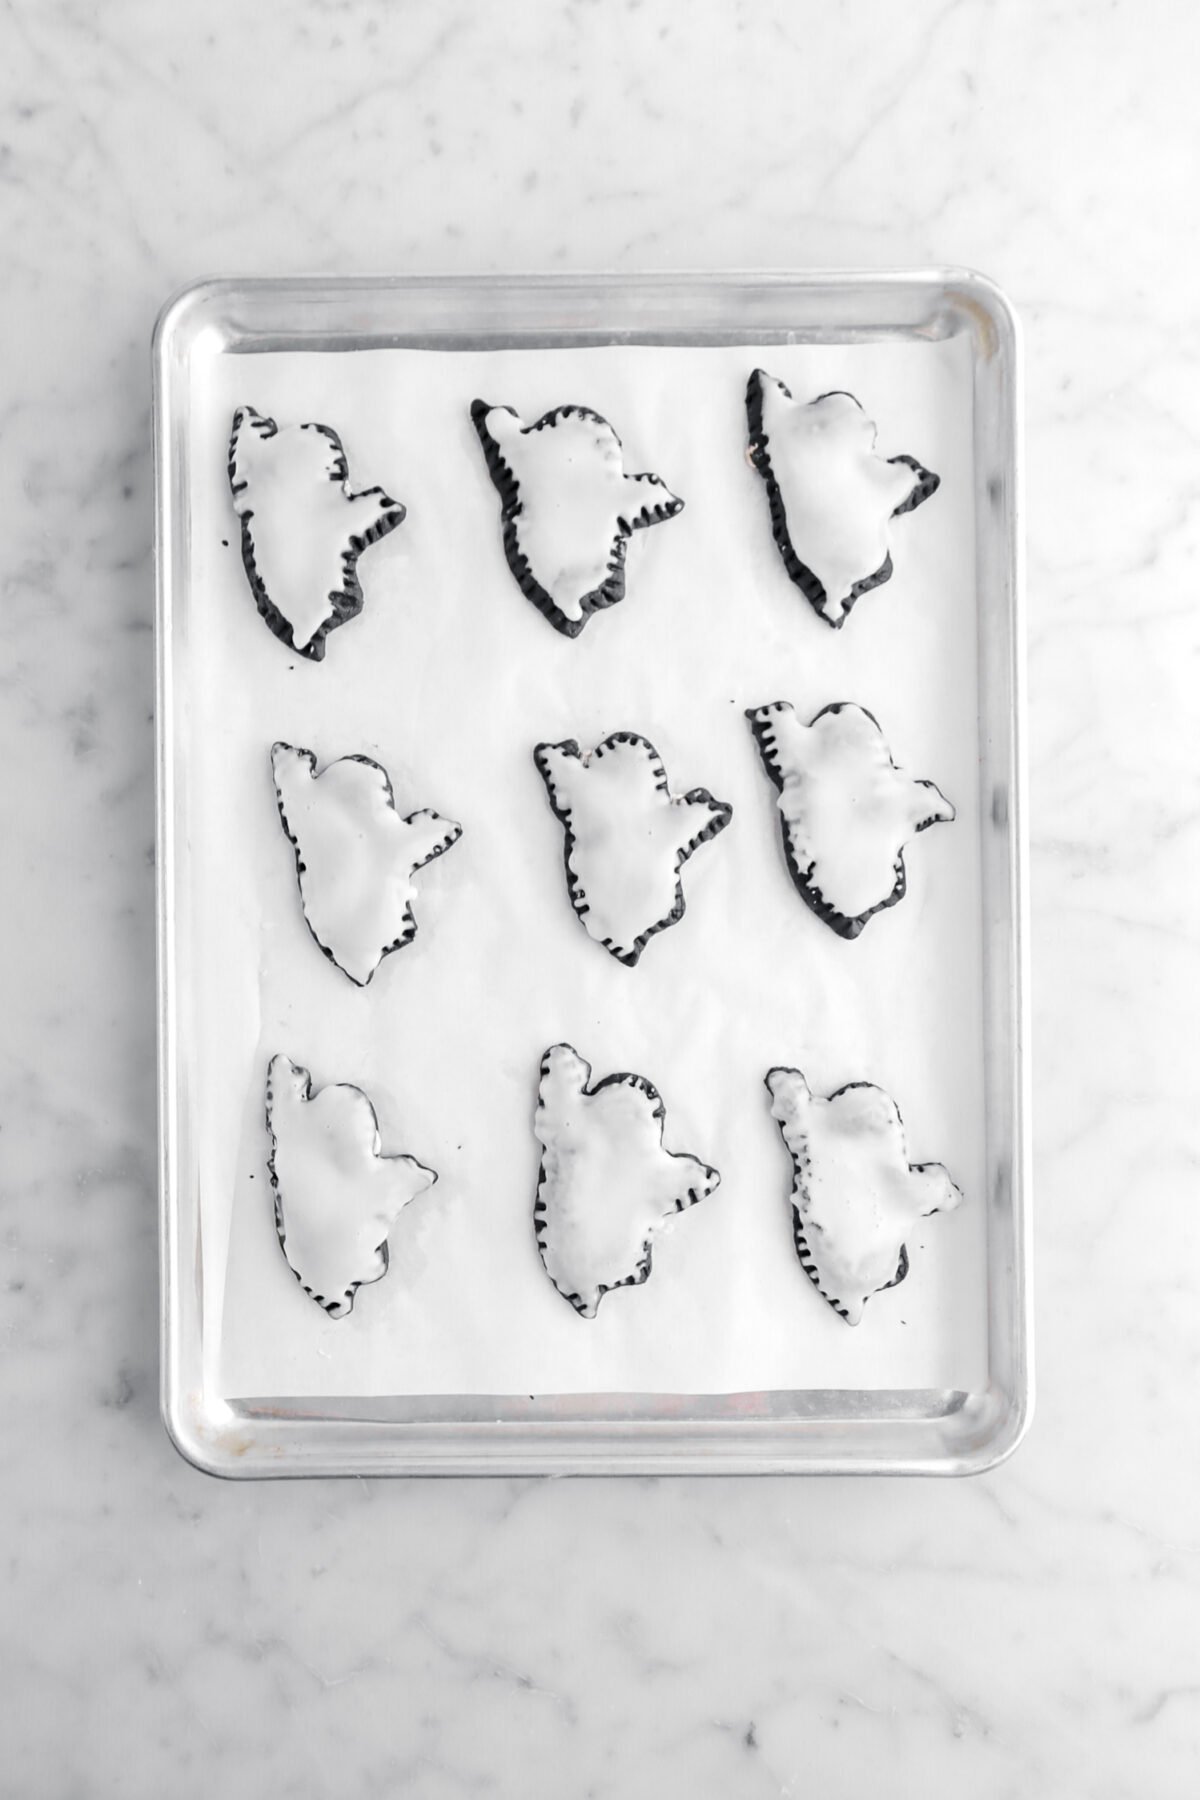
Use a ghost cookie cutter to cut out shapes, re-rolling as necessary. Place half of ghosts on prepared pans.


Step 3: Fill and bake
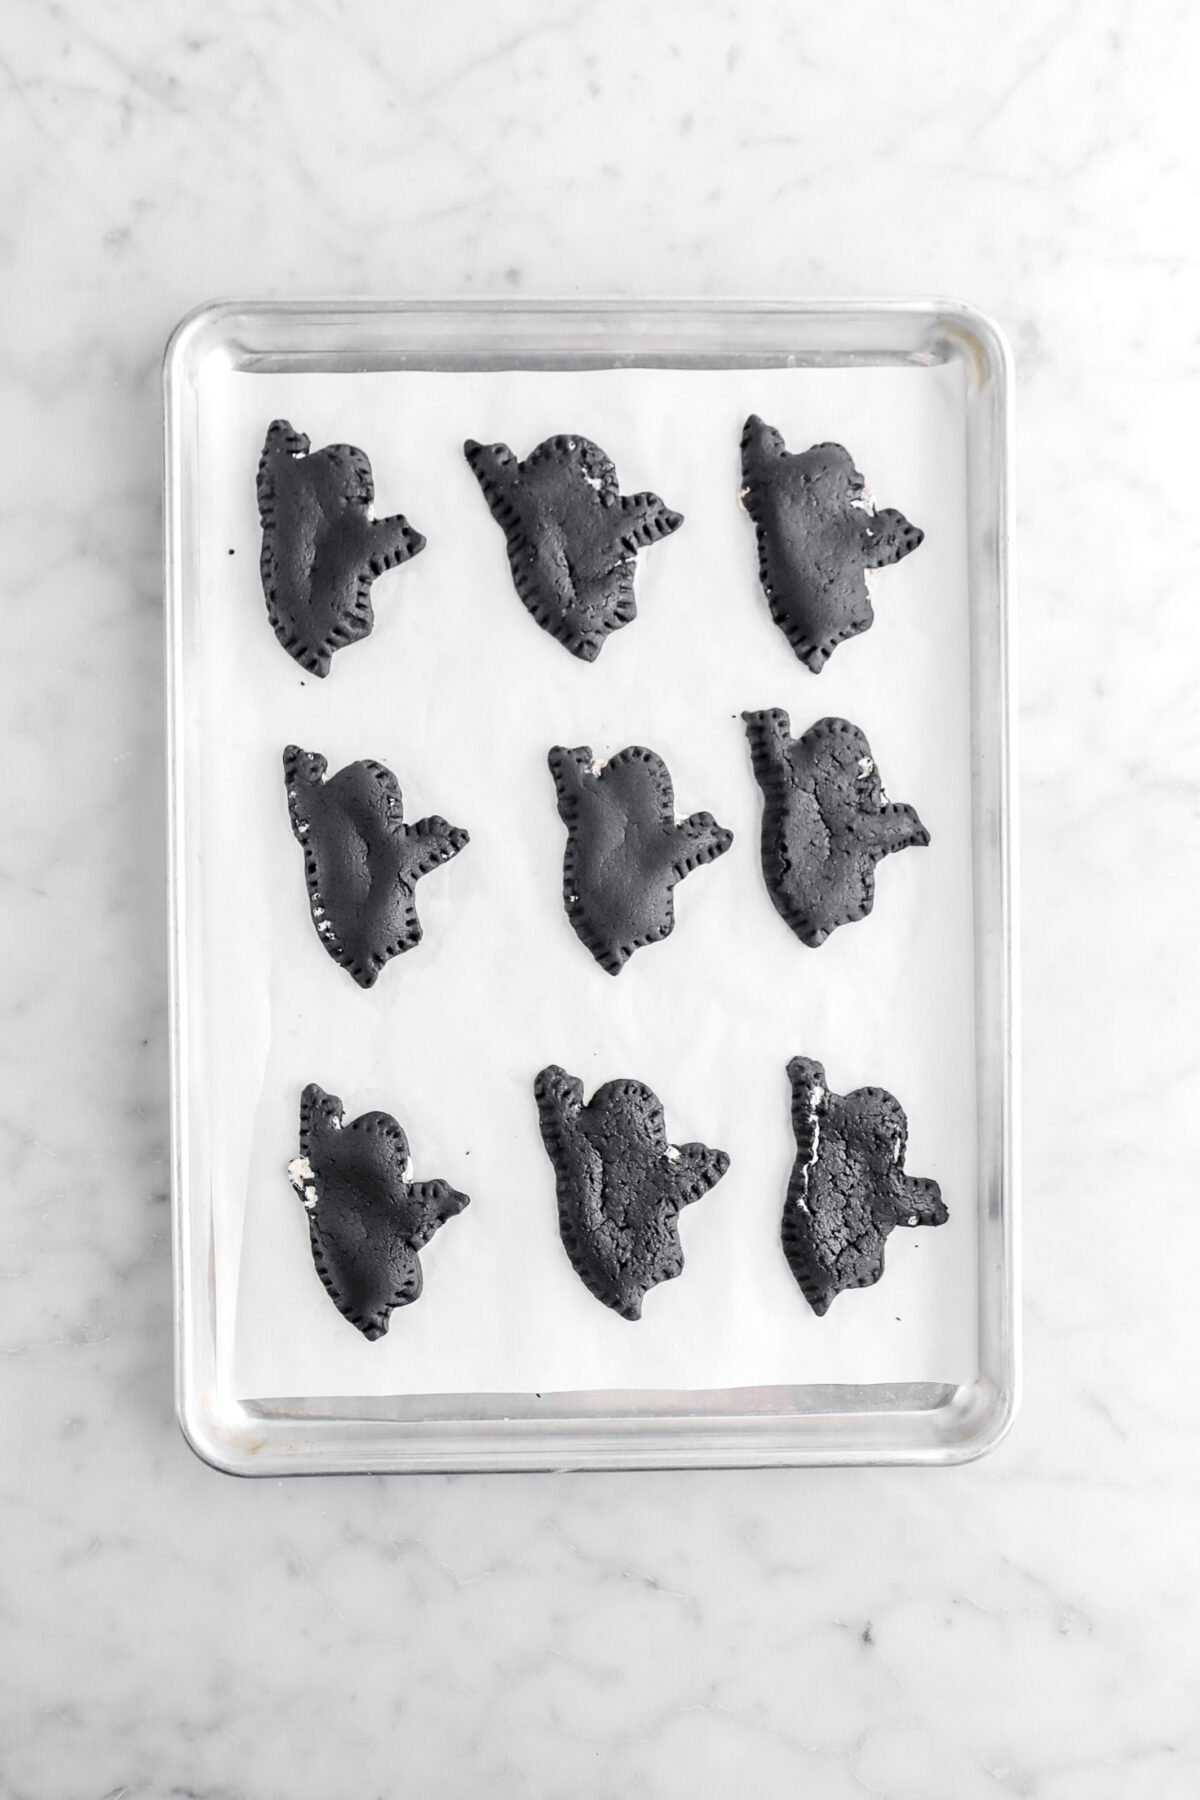
Pipe marshmallow fluff onto ghost, staying away from the edges. Place other half of ghosts on top of marshmallow fluff. Press around edges to seal. (Use a fork to insure you have a good seal.)

Bake for 10 minutes.
Step 4: Make icing
Combine powdered sugar, milk, and vanilla (if using) in a small bowl. Whisk until smooth.
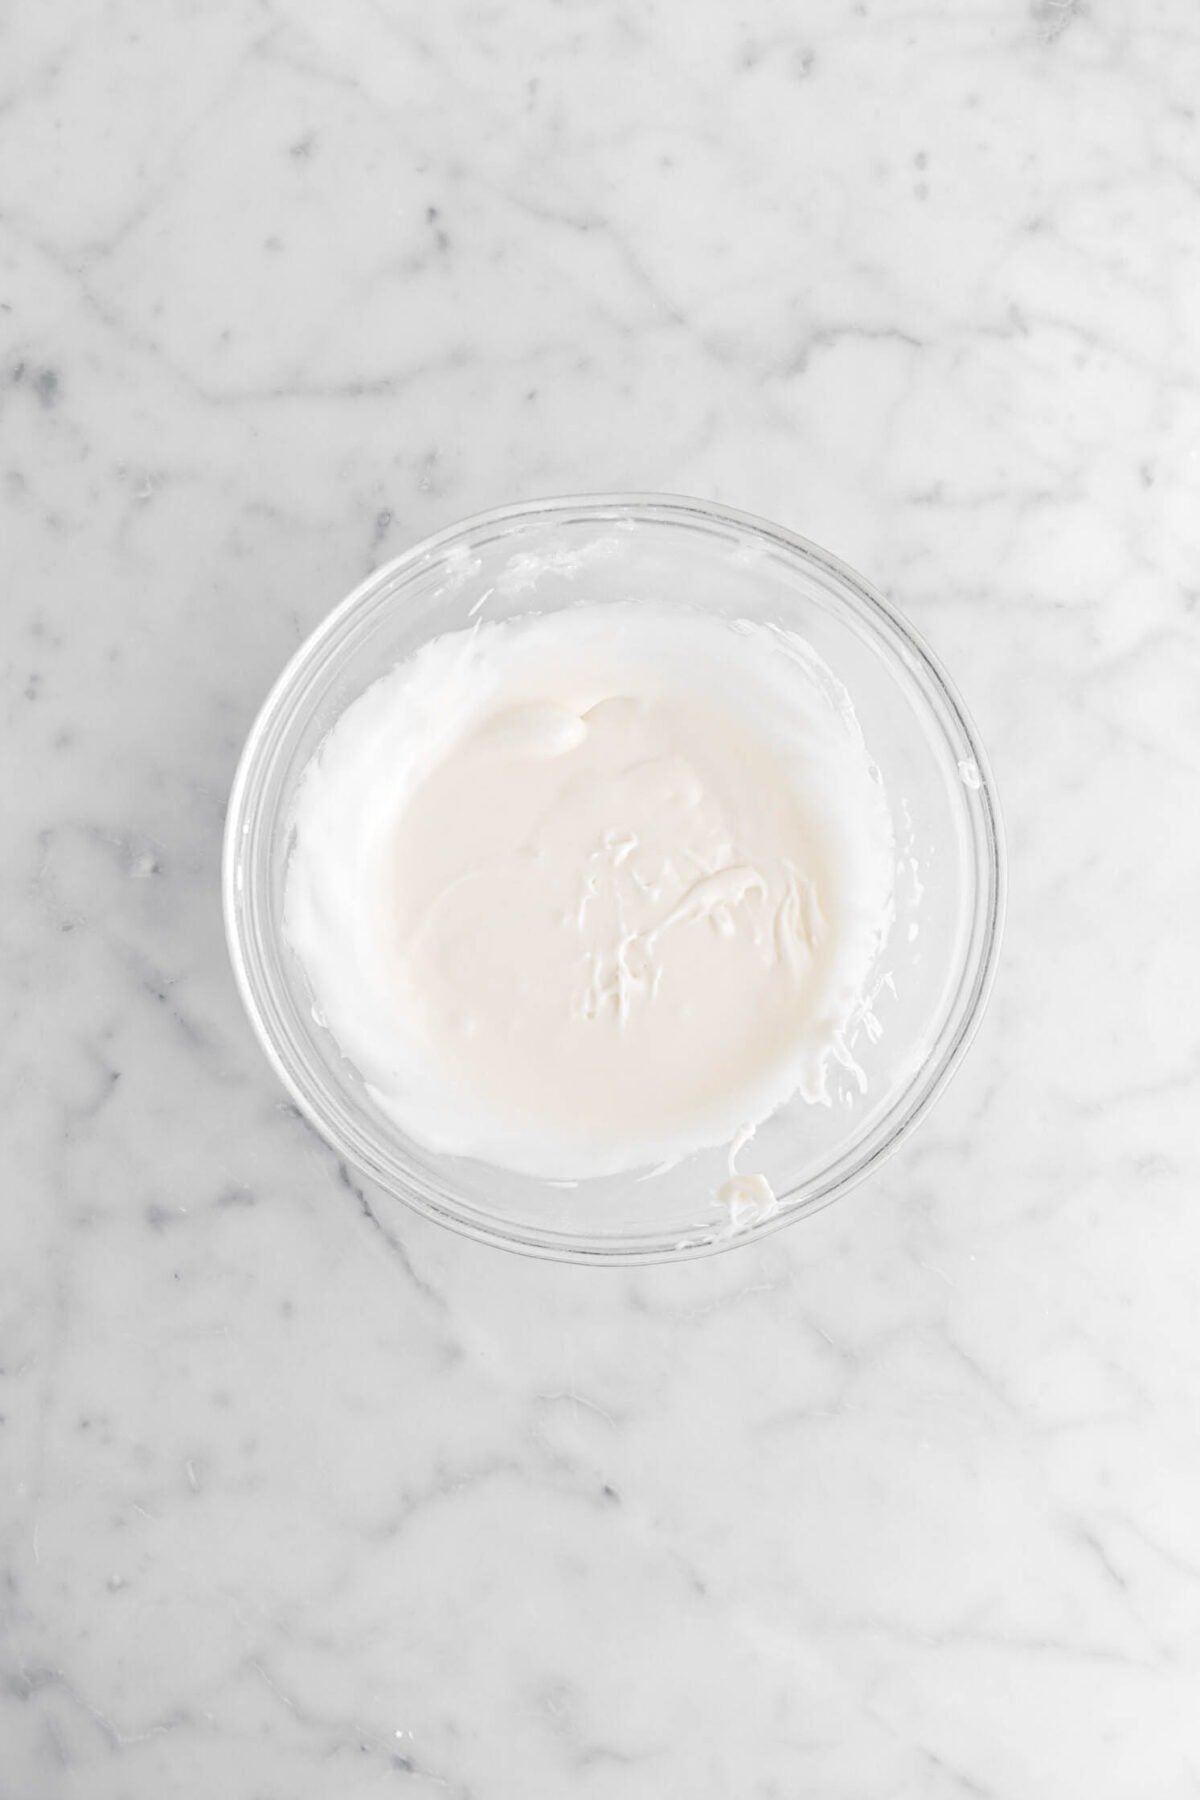
Spread onto cooled pastries.
FAQ’s and Troubleshooting
If the pastry crust came out tough, that means the dough was overworked. This can happen sometimes, especially if you’re not used to using a food processor.
If the marshmallow fluff came out of the pop tarts while baking, this could be caused by a few things. The main cause is over-filling! We recommend only about 1 teaspoon or so, but this really depends on the size and shape of your cutters. You may need up to 1 Tablespoon of filling. The other thing could be that the pop tarts weren’t sealed properly. If you’re worried about the pop tarts not sealing, you can use an egg wash around the edges of the of the crust before placing the top piece of dough. This will create a stronger seal!
Of course! But keep in mind that if the cutter of your choice is bigger and/or smaller than our 4 inch ghost cutter, the bake times will need to be adjusted.
Since this recipe is filled with marshmallow fluff, cracking should be expected because the marshmallow expands as it heats. But don’t worry! As the pop tarts cool, the marshmallow will deflate and the cracks will become smaller. Once you spread the pastries with the icing, you won’t be able to see the cracks at all!
Decorating Ideas
While these pop tarts are cute by themselves, decorating them adds so much! Here are a few simple, but terrifyingly cute ways to decorate them.
- This may seem simple, but it can really add so much to these pop tarts. Once the icing is dried, draw your desired expressions onto each pop tart!
- add a fun dash of color while also making decorating super easy.
- Use different shaped cookie cutters! From black cats, ghosts, pumpkins, even skeletons. Keep in mind that bake times may vary, but it will add a fun variety to this recipe.
- Pipe melted chocolate onto the pop tarts to make patterns or faces!

How To Store
Once the icing has set, you can store these pop tarts in airtight container or zip top bag and keep at room temperature for 5-7 days.
You can also freeze them! Though, we don’t recommend putting these pastries in the toaster, as the icing is likely to melt off. The best way to reheat them is to place them in the microwave for a few seconds.
Looking for more recipes like this? Here are a few you may like:

Expert Tips
- When making the dough, be sure to not leave the butter in big chunks.
- Be careful to not over-work/over-mix the dough.
- When testing, we found that the dough needs to be at room temperature to work with. It rolls, cuts, and bakes much better when it’s not refrigerated!
- Leave plenty of space between the cutouts. It makes them easier to pick up!
- If you don’t flour your work surface, you can actually re-roll the dough as many times as necessary. But, if you absolutely need to flour your work surface to keep the dough from sticking, we recommend using black cocoa powder!
- When you’re ready to fill the pastries, snip just the tip of the piping bag (or zip-top bag, if using!). You only want a tiny amount of marshmallow fluff to come out so you can control it.
- Try not to over-fill the pop tarts! If the pastries are overfilled then the marshmallow may leak out.
- The pop tarts will puff up and crack when baked. Be sure to leave them alone. As they cool, the pop tarts will deflate and shrink back down.
- If you want to make sure the pastries are well sealed, you can brush the edges with an egg wash before sealing.
- The icing is optional, but highly recommended!
When you make these Haunted Marshmallow Ghost Pop-Tarts, leave a comment down below! We love hearing from you and answering any questions you might have! Also, be sure to tag us on social media and hashtag it #BakersTable.

Haunted Marshmallow Ghost Pop-Tarts
Ingredients
Pastry
- 1¼ cups all purpose flour*
- 3 Tablespoons black cocoa powder
- 3½ Tablespoons granulated sugar
- ½ teaspoon salt
- ⅛ teaspoon baking powder
- ½ cup unsalted butter, cold, sliced
- 1 large egg yolk
- 3 Tablespoons heavy cream
- ¾ jar marshmallow fluff
Icing
- 1 cup powdered sugar, sifted
- 1½ Tablespoons whole milk
- ½ teaspoon vanilla extract, optional
Instructions
Pastry
-
Heat oven to 350℉.
-
Line 2 sheet pans with parchment paper. Set aside.
-
Combine flour, cocoa, sugar, salt, and baking powder in the bowl of a food processor fitted with the dough blade.
-
Pulse a few times to combine.
-
Add butter, a little at a time, pulsing after each addition.
-
Process until butter is evenly distributed through flour mixture.
-
Add egg yolk.
-
Pulse to combine.
-
Add cream.
-
Process until mixture becomes a smooth dough.
-
Remove from food processor.
-
Roll out on an un-floured non-stick surface (marble, parchment paper, silicone mat) to ⅛ inch thick.
-
Use a ghost cookie cutter to cut out shapes, re-rolling as necessary.
-
Place half of ghosts on prepared pans.
-
Spoon marshmallow fluff into a pastry bag, or zip top bag, and snip the tip off.
-
Pipe marshmallow onto ghost, staying away from the edges.
-
Place other half of ghosts on top of marshmallow fluff.
-
Press around edges to seal. (Use a fork to insure you have a good seal.)
-
Bake for 10 minutes.
Icing
-
Combine powdered sugar, milk, and vanilla (if using) in a small bowl.
-
Whisk until smooth.
-
Spread onto cooled pastries.
Notes + Tips!
- When making the dough, be sure to not leave the butter in big chunks.
- Be careful to not over-work/over-mix the dough.
- When testing, we found that the dough needs to be at room temperature to work with. It rolls, cuts, and bakes much better when it’s not refrigerated!
- Leave plenty of space between the cutouts. It makes them easier to pick up!
- If you don’t flour your work surface, you can actually re-roll the dough as many times as necessary. But, if you absolutely need to flour your work surface to keep the dough from sticking, we recommend using black cocoa powder!
- When you’re ready to fill the pastries, snip just the tip of the piping bag (or zip-top bag, if using!). You only want a tiny amount of marshmallow fluff to come out so you can control it.
- Try not to over-fill the pop tarts! If the pastries are overfilled then the marshmallow may leak out.
- The pop tarts will puff up and crack when baked. Be sure to leave them alone. As they cool, the pop tarts will deflate and shrink back down.
- If you want to make sure the pastries are well sealed, you can brush the edges with an egg wash before sealing.
- The icing is optional, but highly recommended!
Tools You May Need (affiliate links)
Nutrition
Nutritional information is only an estimate. The accuracy of the nutritional information for any recipe on this site is not guaranteed.
– Still Hungry? –
Here are a few recipes may like!